Here's a set of pictures showing a couple of little repairs and restorations. Nothing too exciting but thought someone might benefit from the way I did these. Sorry that the pictures are a bit fuzzy but I had to use my phone as the good camera is presently out of town.
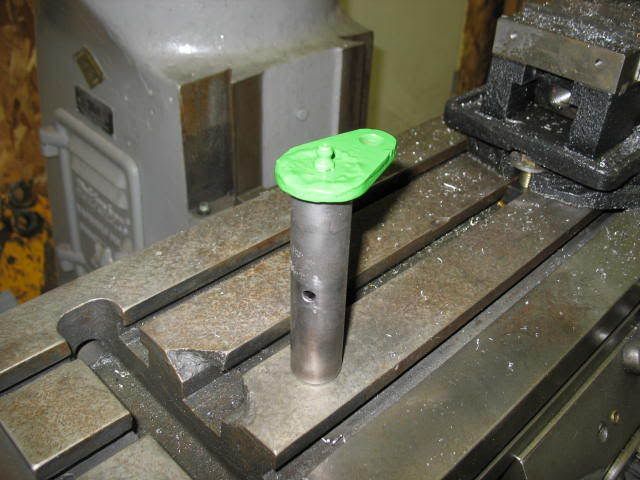
The first is the two battery holddown studs that needed to be replaced. What I did was get a couple of 5/16" x 2-1/2" bolts and cut the heads off. I then heated the shank ends of the bolts red hot and flattened them with a hammer on the flat on the back of my vise.
A little closer shot.
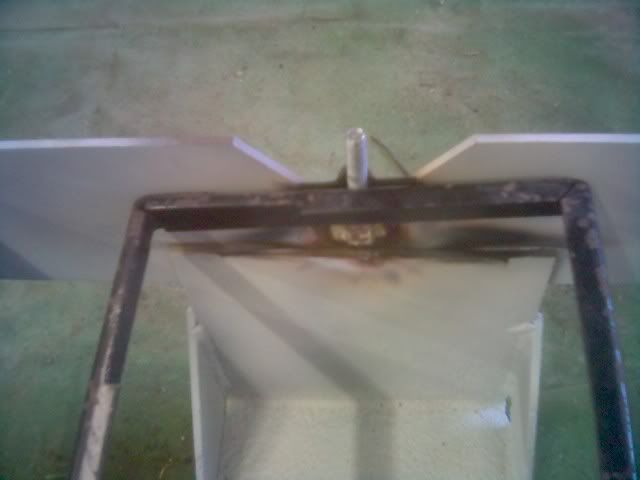
This next one is the steering lever I broke in the process of trying to remove the frozen bolt. What I did first was align the broken pieces with a new bolt and a couple of washers in the gap. Then I silver brazed the broken pieces.
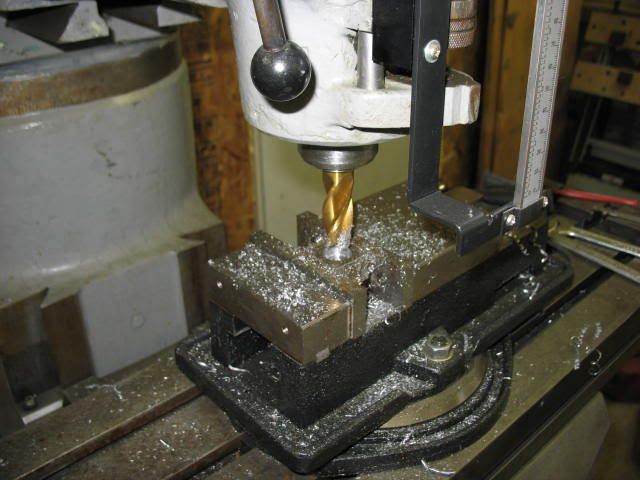
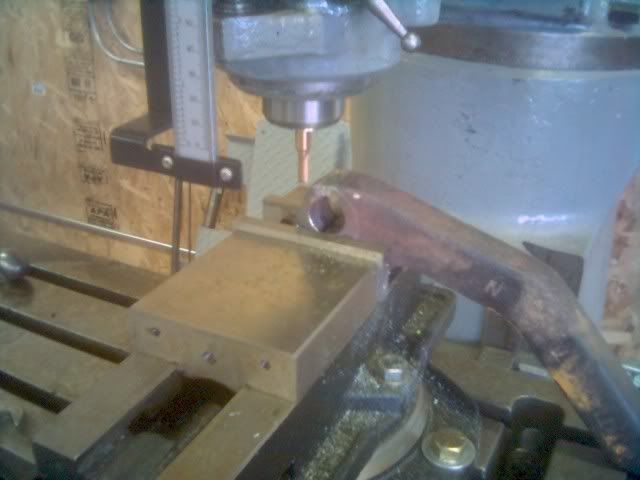
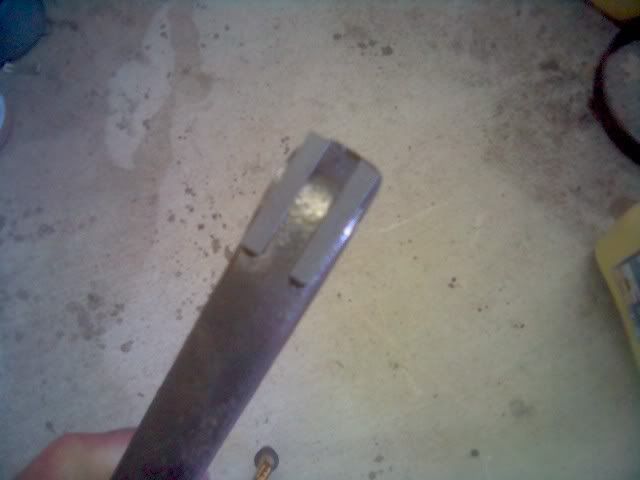
This might have been strong enough by itself but I wanted to add some material to the back to help give it more strenth where the keyway forms a stress riser. This picture shows the lever mounted on my mill so I can cut slots for the new material.
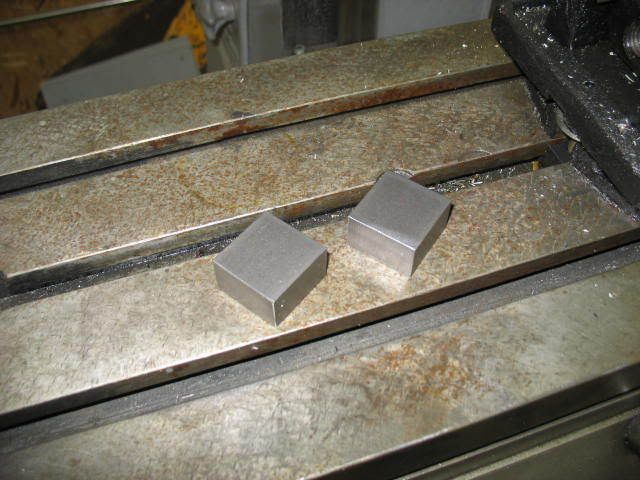
Here's the two slots cut. What I used was some 1/4" square key stock and cut the slots so that the keys would sit just high enough out of the piece to let me grind off the excess and restore the original contour.
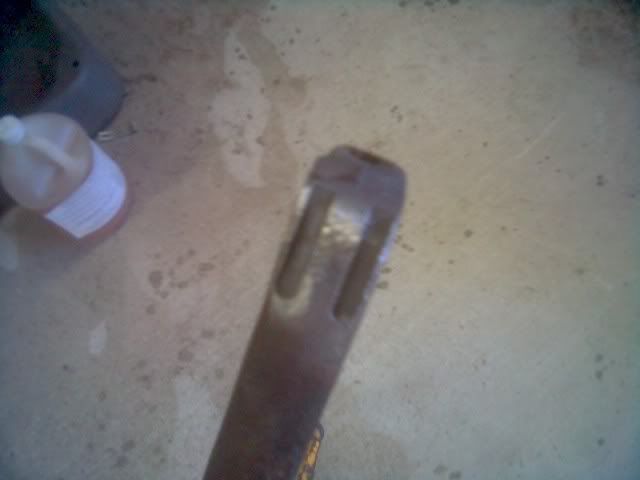
With the keys sitting in the slots ready to silver braze.
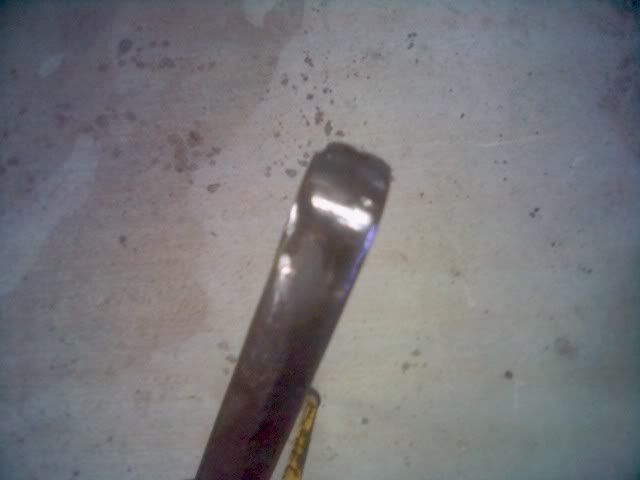
And finally, the finished product ground back to its original shape. Once it's painted you won't be able to tell it was ever broken and it's actually stronger than the original. I know it seems a bit nutty to spend this kind of time on something nobody is likely to see, but I wanted it as good as it could be.
I'm not as lucky with the other side as it was broken years ago and the lever had been welded to the steering shaft. I'm making a weld-on replacement end for that side with the idea that I could make more for folks that have similar issues and want to restore the original look. Lavoy has mentioned in the past that you can weld a setscrew collar onto the end of a broken steering lever and it will work fine. The replacement end is more of a restoration idea than a functional repair.
All for now.
1010CA Little Side Jobs
Bill Wattson
- 670johndeere
- 40C crawler
- Posts: 20
- Joined: Mon Apr 23, 2007 10:25 pm
- Location: Grafton WV
It rained here all weekend so no real chance to shoot any paint. Back to more little side jobs to fill the time.
This first picture shows the grill frame missing a couple of "teeth." If you look closely you'll see that one of the drilled and tapped mounts and one of the plain backing mounts are missing.
The mounts are 3/4" x 1-1/4" x 1-1/4". Here's the two cut from a bar.
The drilled mount is tapped for a 3/8" NC bolt and has a 3/4" counterbore 1/4" deep. The hole is centered 1/2" off the inside edge. Here's the drilled mount getting counterbored.
Dental work complete and ready for painting.
I mentioned the last time that I had a devil of a time getting the 3pt top cylinder pins out. Here's the finished re-lube pins. Note the grease fittings and the hole in the center of the pin to grease the cylinder pivot from the inside.
I did manage to get the seat back, bottoms of the deck plates, and the rock shaft painted Saturday morning before the weather hit. More pictures soon.
Bill Wattson
Who is online
Users browsing this forum: No registered users and 27 guests