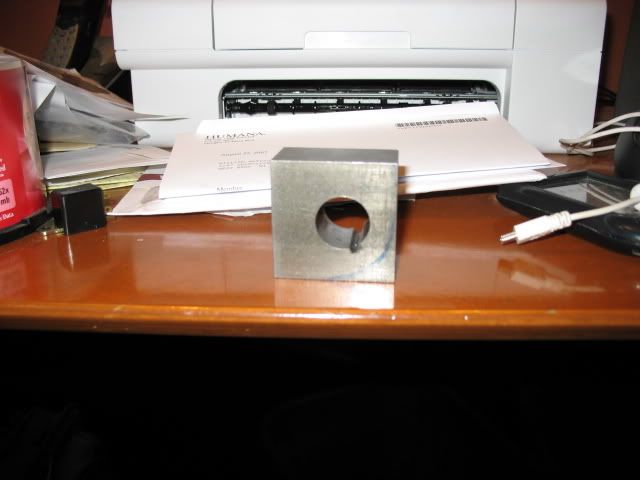
In this first picture is the basic idea; that's right, a piece of steel witha hole in it. Not just any hole but a hole with a keyway that fits the steering shaft of a 1010.
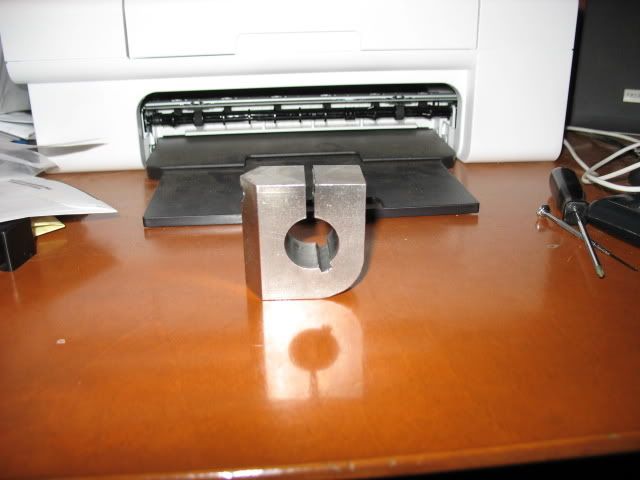
And now the finished prototype. A piece of steel with a hole drilled in it, a keyway, a pair of bevels milled on the front for welding, a slot cut in it to permit tightening on the steering shaft and another tapped hole for the tightening bolt.
I know what you're thinking; this guy is some sort of genius or something (probably leaning more toward the 'or something').
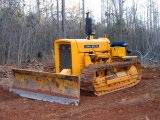
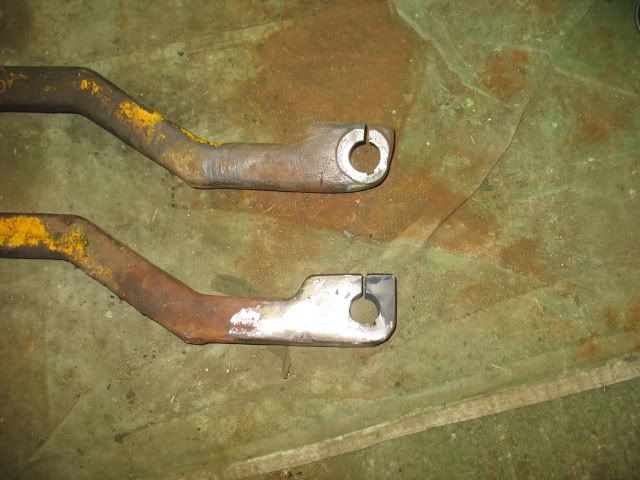
This really isn't necessarily for everybody. Like Lavoy has mentioned in the past, a heavy setscrew collar welded to the end of a broken steering lever will work. I mostly did this design to produce a repair that looked as close to the original lever end as practical. I am going to leave the edges square until it is welded in place to permit grinding it to match the shape of the lever.
If there is some interest in these repair ends and Lavoy is game, I'd be willing to make some up for sale through Lavoy. I'll post some more pictures when I've got it welded on and ground to shape.