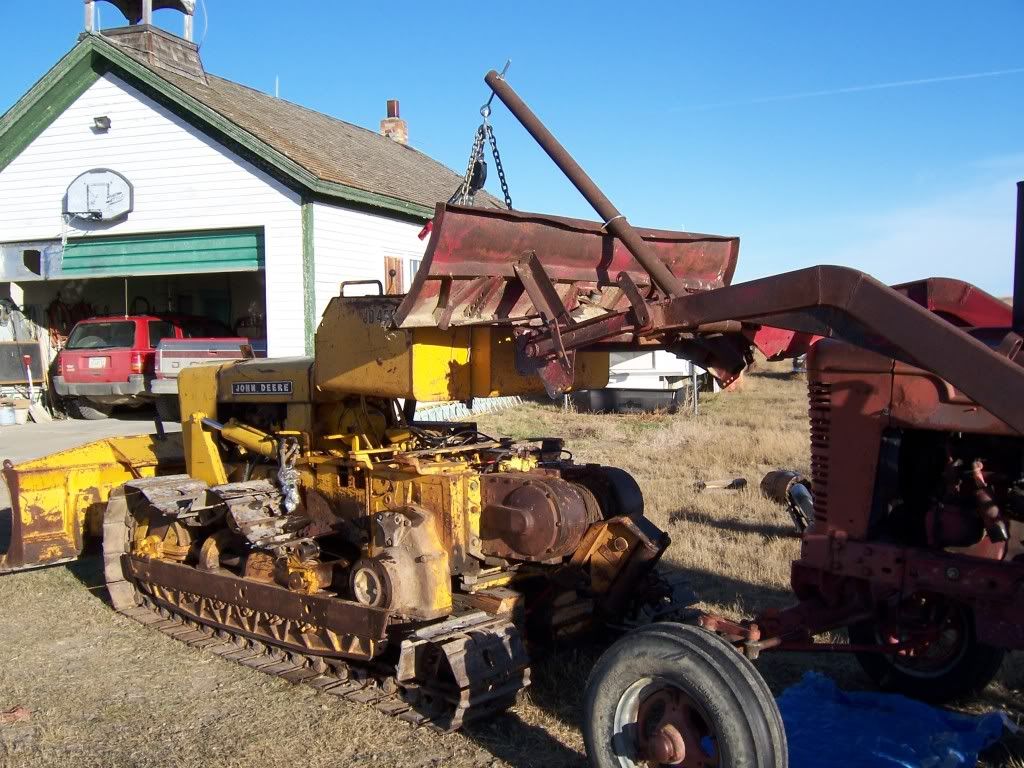
Getting ready to rebuild the steering clutches on my 450B
Please forgive me if you have answered this already but I have a question about your brake linings. Did you do the relining yourself or did you have it done somewhere else? If you did it yourself, it looks fabulous!! I'm impressed!
I haven't read your entire thread but have been keeping up on your progress. I have been learning right along with you as I have never been into an older 450 steering clutch before. Now I know I can if I need to. Thanks for the great pictures and keeping us updated.
I haven't read your entire thread but have been keeping up on your progress. I have been learning right along with you as I have never been into an older 450 steering clutch before. Now I know I can if I need to. Thanks for the great pictures and keeping us updated.
40 plus years working on JD 350s, 400Gs, 450s and other equipment both Ag and Construction.
-
crawler123

- 430 crawler

- Posts: 97
- Joined: Sat Jul 30, 2011 1:36 pm
- Location: montana
Hi Ken and Leonard
I did do the linings myself.
This is a first time ever for that kind of thing.
I followed reddirt's instructions and that is the only way I would have tried this.
http://www.jdcrawlers.com/messageboard/ ... 7&start=15
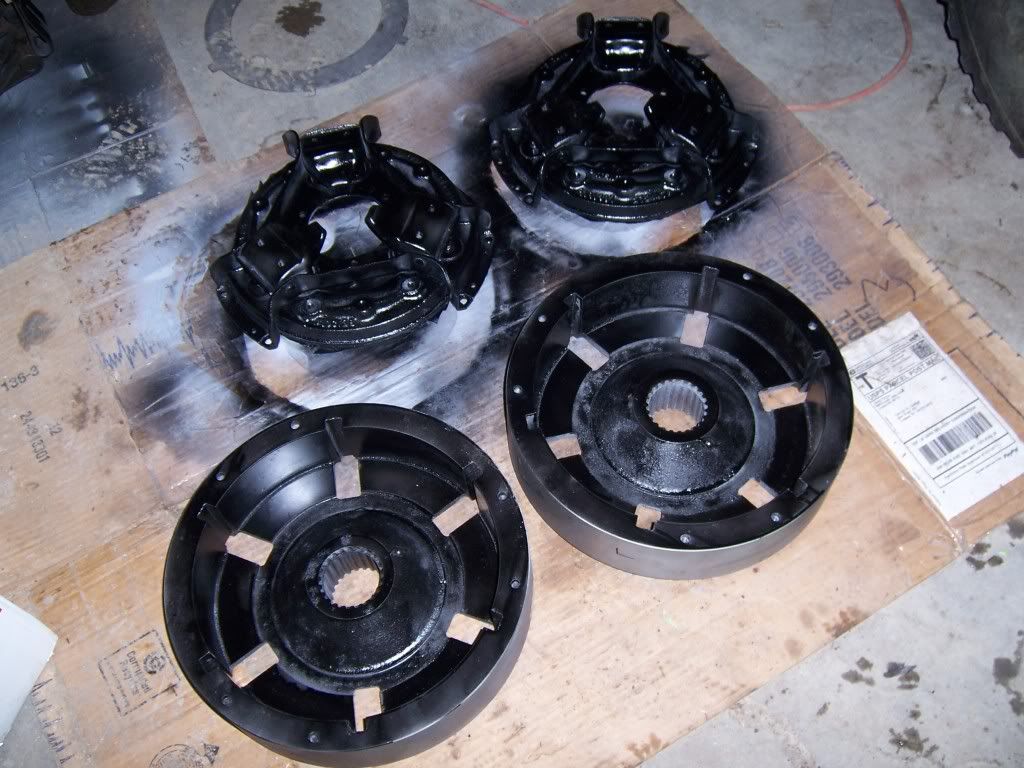
I am now in the process of getting the drums and pressure plates ready.
I may start to repack the clutches tomorrow.
I did do the linings myself.
This is a first time ever for that kind of thing.
I followed reddirt's instructions and that is the only way I would have tried this.
http://www.jdcrawlers.com/messageboard/ ... 7&start=15
I am now in the process of getting the drums and pressure plates ready.
I may start to repack the clutches tomorrow.
-
crawler123
- 430 crawler
- Posts: 97
- Joined: Sat Jul 30, 2011 1:36 pm
- Location: montana
Getting ready to put in the new steel discs and used fiber.
After measuring all the used fibers I determined that the total wear was somewhere around 0.100.
So I put an extra steel in first. I know, I know some say not to do that.
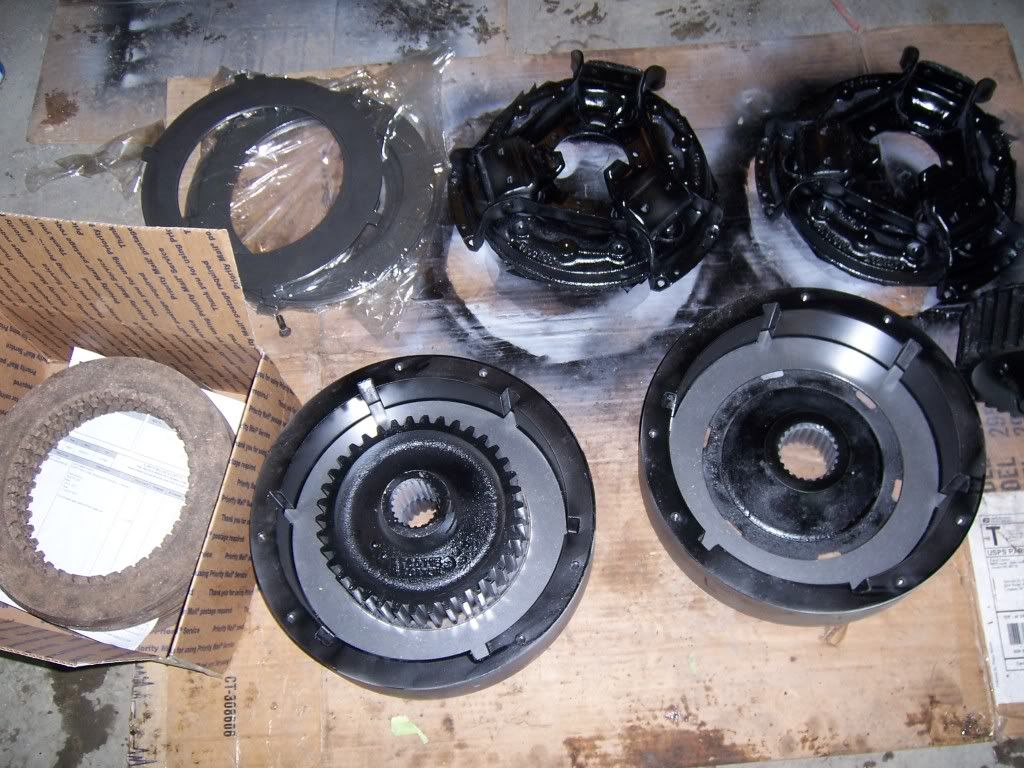
Installing the discs in the first drum.
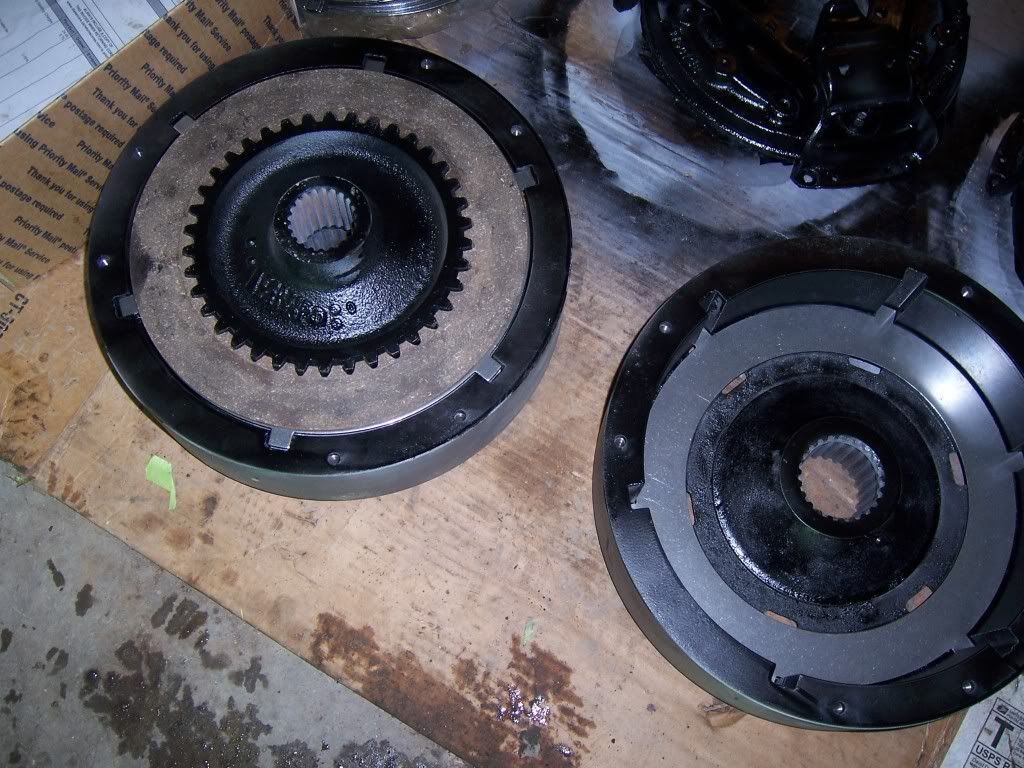
And finished with both.
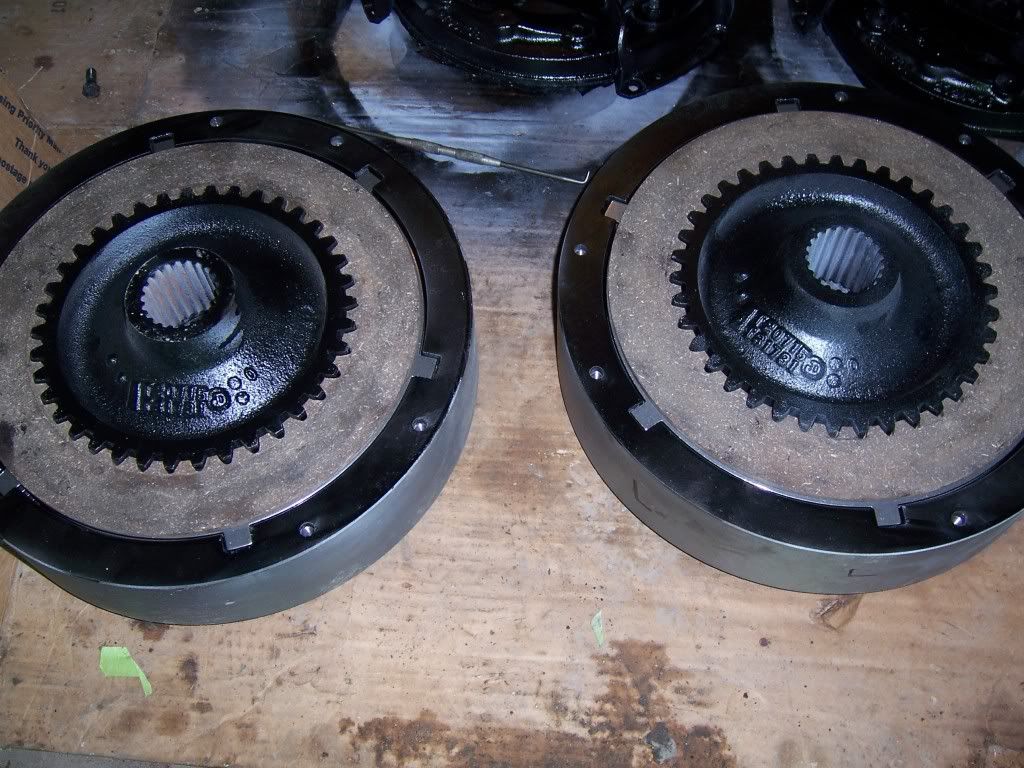
Now aligning the the hub with the drum before torquing the pressure plates. Using the drive shaft and pinion centered together.
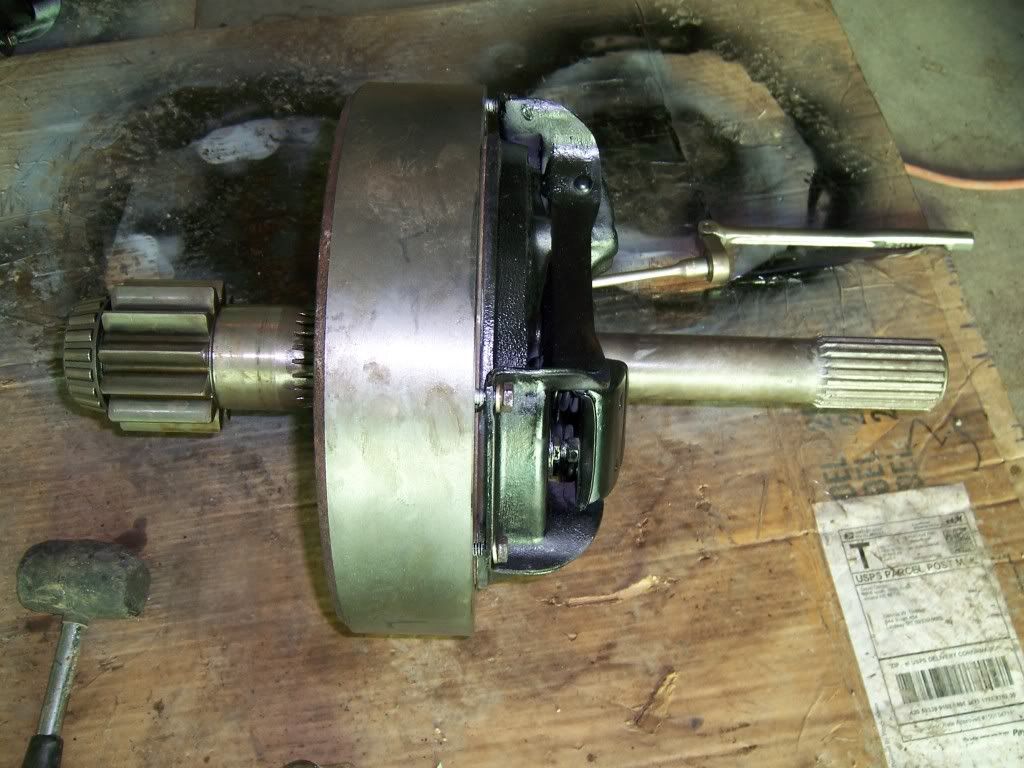
I need to make a tool to adjust the finger height on the pressure plates.
Then I have to wait until it stops snowing before I start to install them.
After measuring all the used fibers I determined that the total wear was somewhere around 0.100.
So I put an extra steel in first. I know, I know some say not to do that.
Installing the discs in the first drum.
And finished with both.
Now aligning the the hub with the drum before torquing the pressure plates. Using the drive shaft and pinion centered together.
I need to make a tool to adjust the finger height on the pressure plates.
Then I have to wait until it stops snowing before I start to install them.
-
crawler123
- 430 crawler
- Posts: 97
- Joined: Sat Jul 30, 2011 1:36 pm
- Location: montana
I really busting butt to get this put back together before xmas. 
And re-assembly is pretty much the same as dis-assembly.
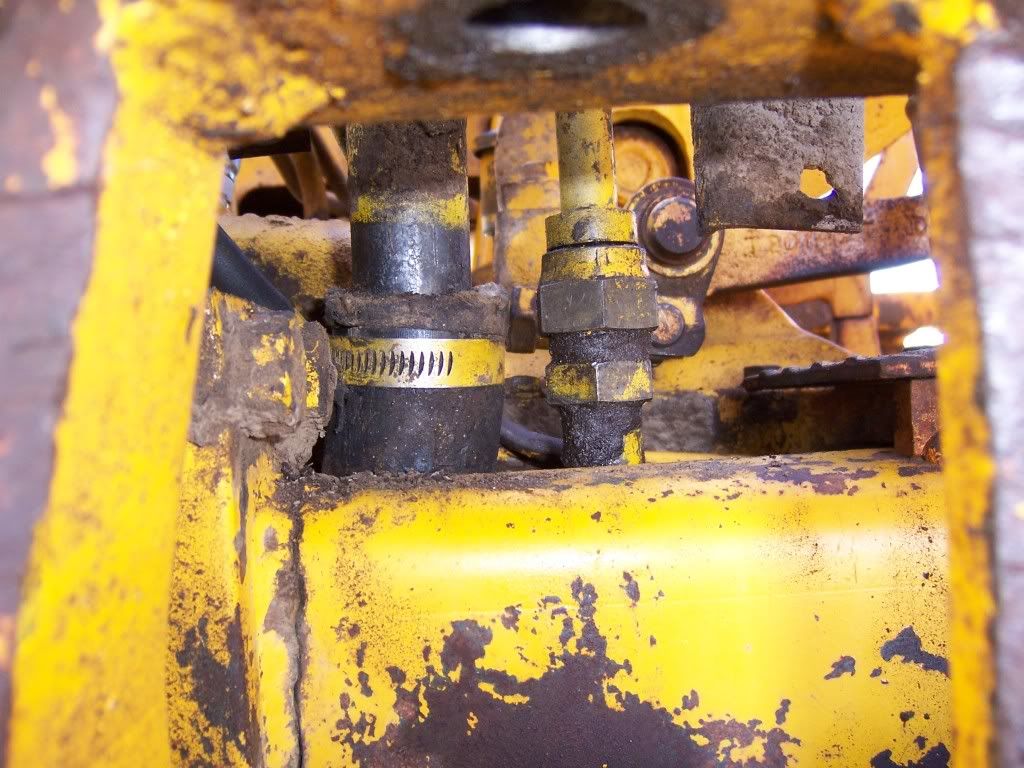
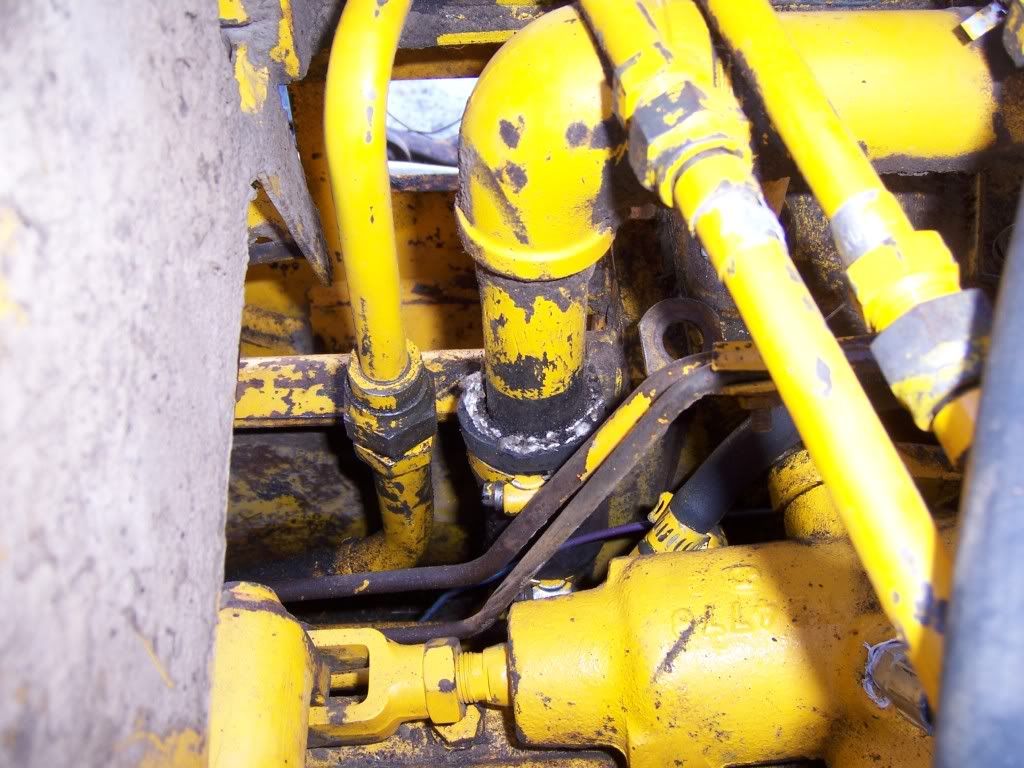
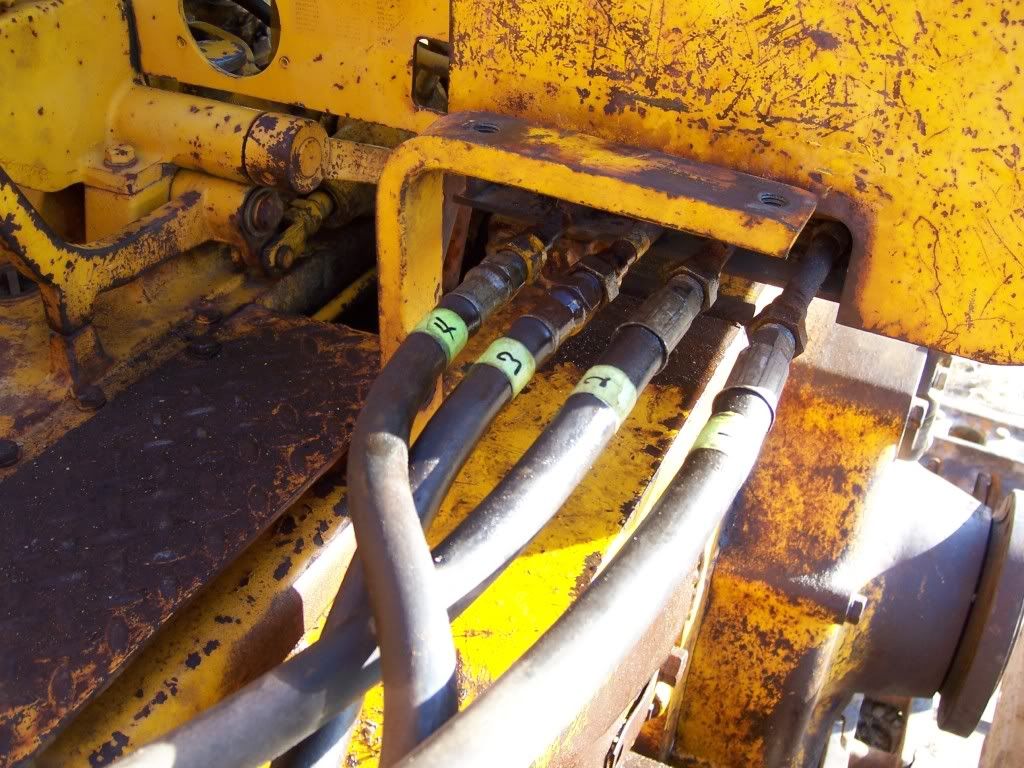
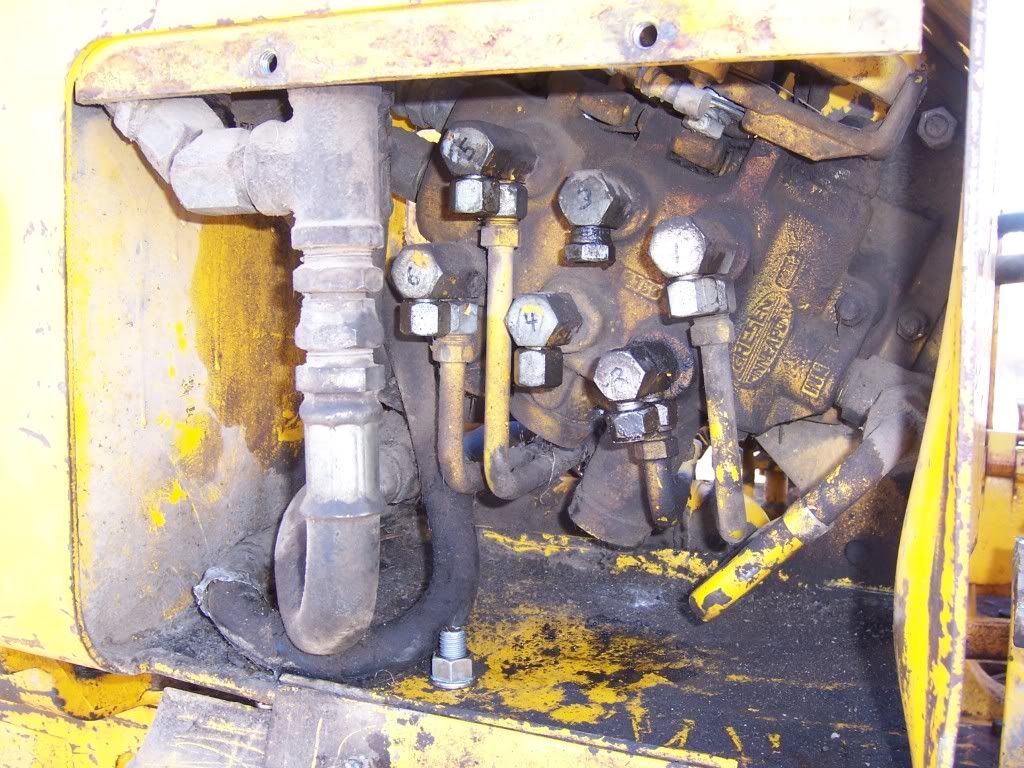
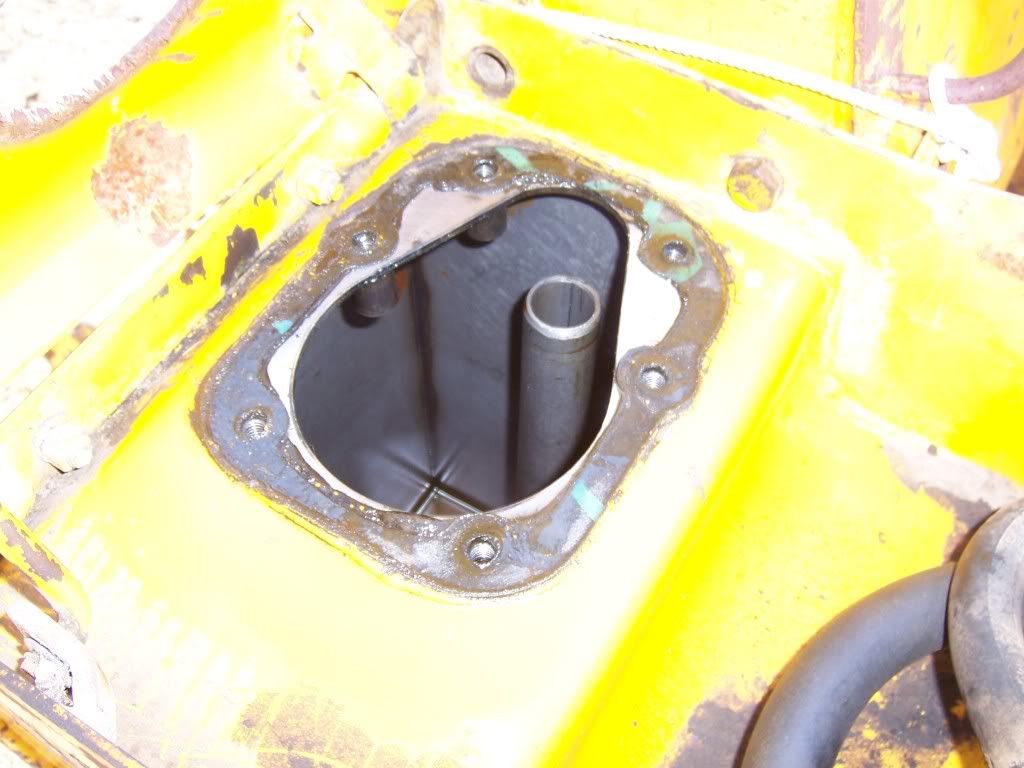
I'm going to cheat a bit here and show you another picture from dis-assembly. But as you can see, you have to be really careful sitting the seat/tank assembly back on the crawler. If you don't you will break shift rods, attach bolts. Also you have to line up the hydraulic return and high pressure lines.
And re-assembly is pretty much the same as dis-assembly.
I'm going to cheat a bit here and show you another picture from dis-assembly. But as you can see, you have to be really careful sitting the seat/tank assembly back on the crawler. If you don't you will break shift rods, attach bolts. Also you have to line up the hydraulic return and high pressure lines.
-
crawler123
- 430 crawler
- Posts: 97
- Joined: Sat Jul 30, 2011 1:36 pm
- Location: montana

-
crawler123
- 430 crawler
- Posts: 97
- Joined: Sat Jul 30, 2011 1:36 pm
- Location: montana
Well I have the tractor running again. The hydraulics are working correctly and I can't see any hydraulic leaks. I guess I got things hooked up right.
While it was running I put it into gear and tried the steering levers. Wow, the spindles release and stop turning like their suppose to. Imagine that.
Got the sprockets back on today. Just a few little things to button up and then pull the tracks back on.
The weather today is really miserable. Over cast with ice fog and wind. Don't want to be outside much today.
That old crawler sure would look nice with some new paint. Much too cold for painting right now.
-
crawler123
- 430 crawler
- Posts: 97
- Joined: Sat Jul 30, 2011 1:36 pm
- Location: montana

steering clutchs
thanks fo the photos of your rebuild great to see it back in it home happy holidays
-
andregrondin
- 440 crawler

- Posts: 215
- Joined: Mon Apr 18, 2011 6:51 am
- Location: Granby,Québec, Canada
-
crawler123
- 430 crawler
- Posts: 97
- Joined: Sat Jul 30, 2011 1:36 pm
- Location: montana
HELLO CRAWLER 123,
I have a 450 B and need to do the same thing. I realize this post is
a little old, however, I just happened on to it, looking for info. on this
subject.
Furthermore you did one bang up job, better than most pro,s, and an
experience that you won't soon forget. Hope you have been enjoying your dozer.
Sincerely,
dillon
Hey Dennis where did you get the brake lining? and what type material is it (IE semi metallic ? ) and what thickness was it and was there any problem with brake adjustments because of turning the drums?
2010 with 622 dozer with mod. 35 ripper and a 2010 with 622 dozer bought in 1969 and a 2010 loader with drott and mod. 36 ripper
Who is online
Users browsing this forum: No registered users and 63 guests