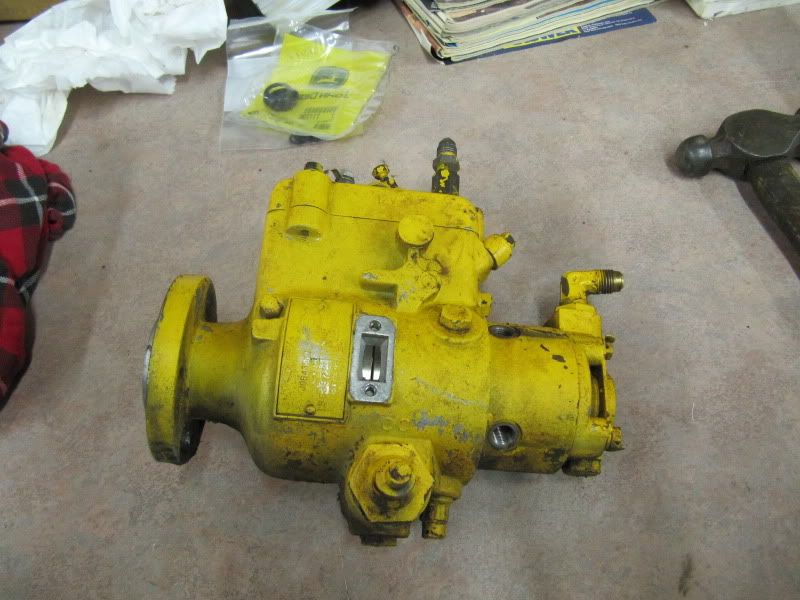
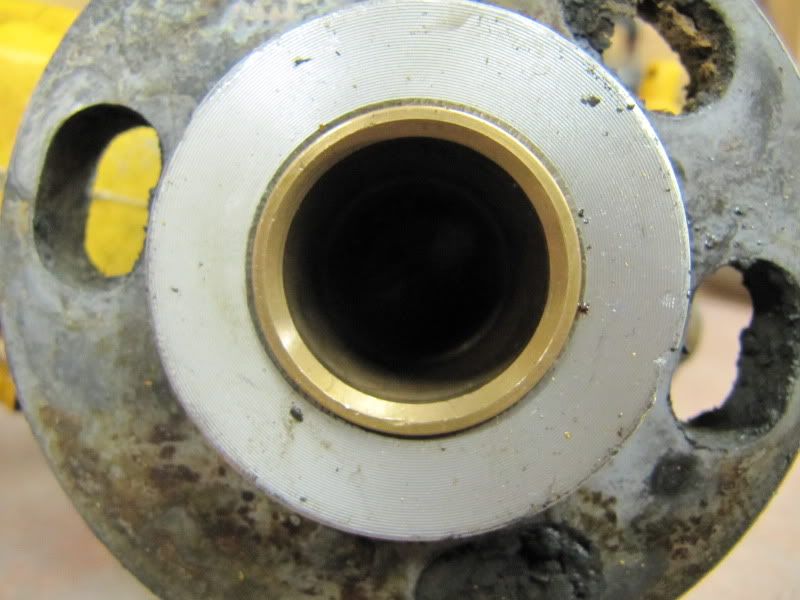
Anyway, after removing the pump, the little umbrella seals did seem a bit old and after closer inspection, there was a pc. of seal down in the pump. I'll have to get it out of there. To remove the pump, I just followed what I read on here. Good stuff.
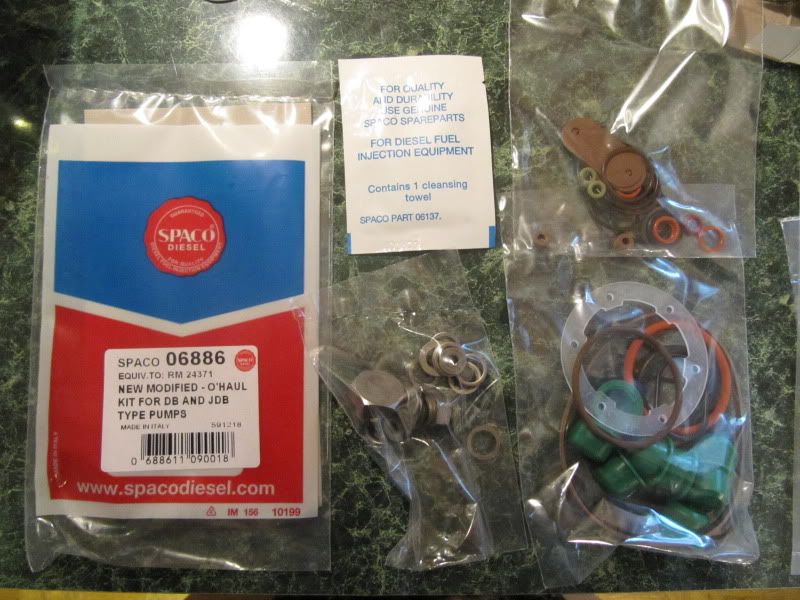
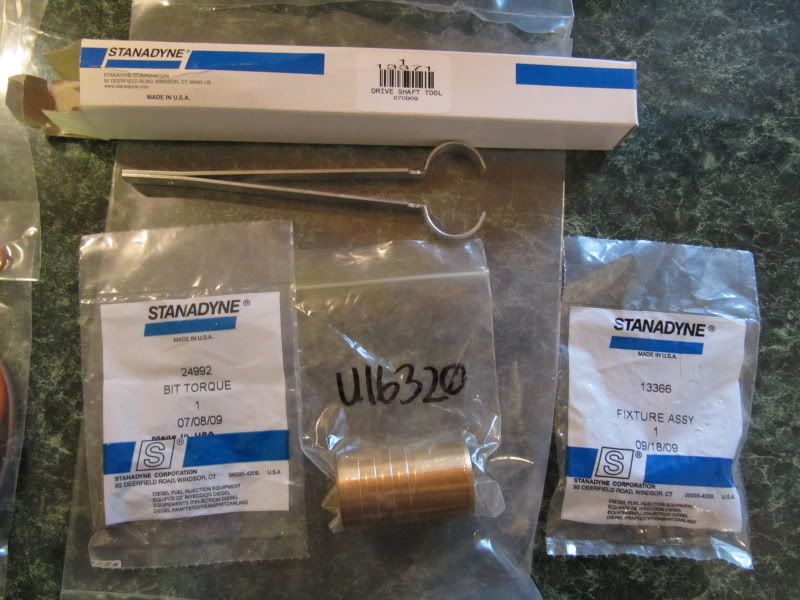
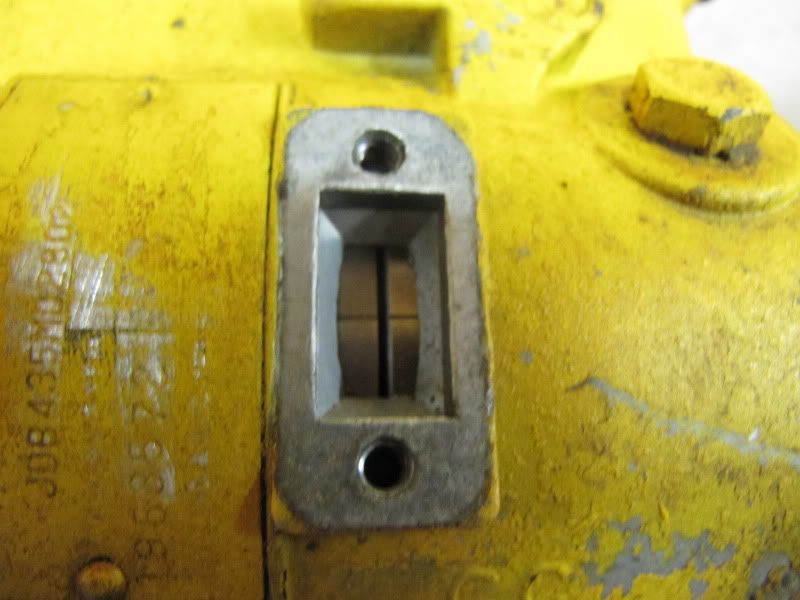
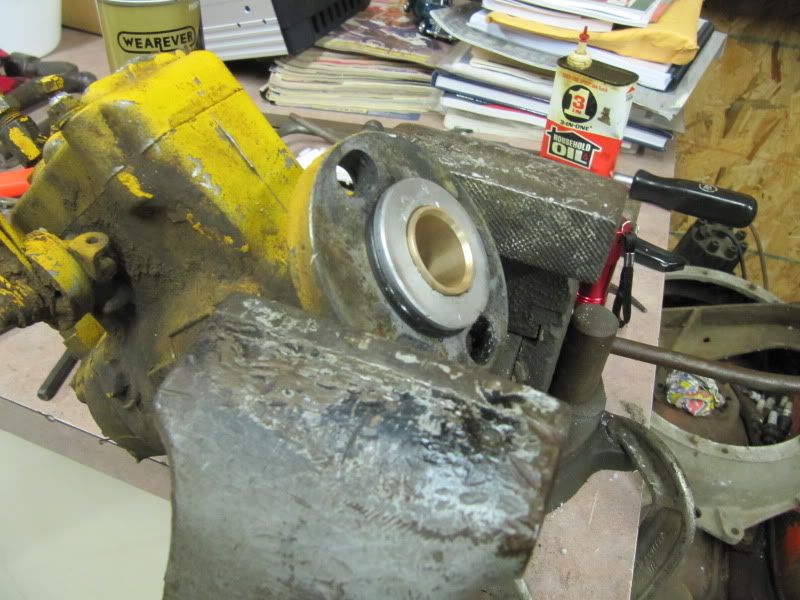
Next I went to my local Deere dealer and picked their brain a bit- they are great to deal with even though they are an hour away: Leslie Equipment, they have many locations throughout OH, WV and KY. I bought two umbrellas seals from them, some oil and some filters. The parts guy at the counter felt my bronze bushing for the input shaft on the injector pump and said, "I've felt a lot worse than that. I'd put it back on there and run it." I agreed and left thinking I'd just slap it back together. After thinking about it for about a week, I thought to myself, "I really need this dozer this summer. I HAVE to get a road in to our property to access it all year and to our new 40x80 pole barn. So, let's do it right." Following jdemarris' messages, I called up USdiesel in TX. They had the Spaco seal and gasket kit for pretty much what I gave for my two seals from JD. I was only going to order the seal kit but you have to have a minimum of $25, so I added on a degree cover for timing, the special tool for the umbrella seals, the special tool for adjusting the cam dwell (turned out to be just a #45 torx, so don't pay their price for it) and an input shaft bronze/brass bushing.
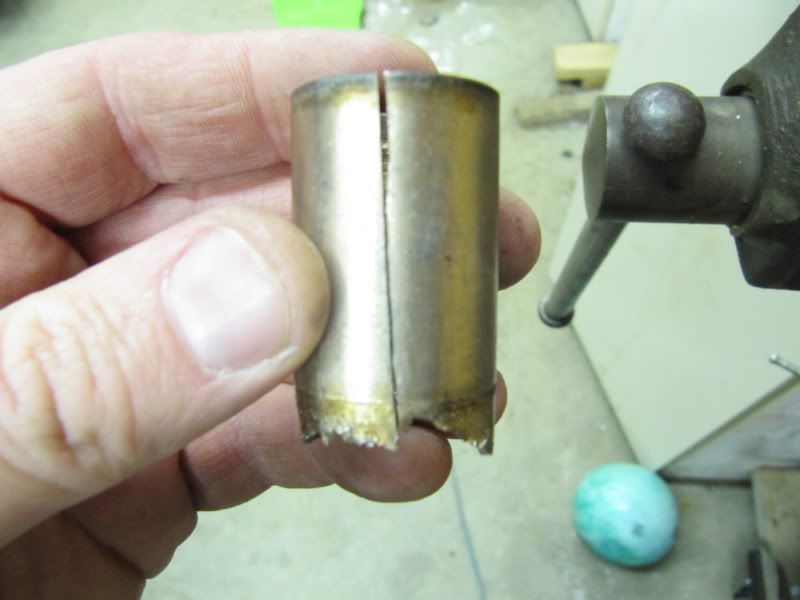
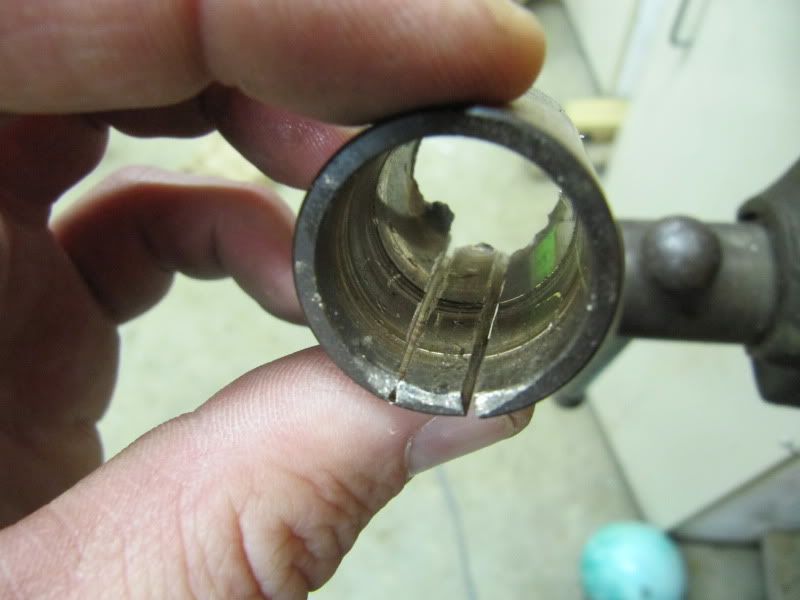
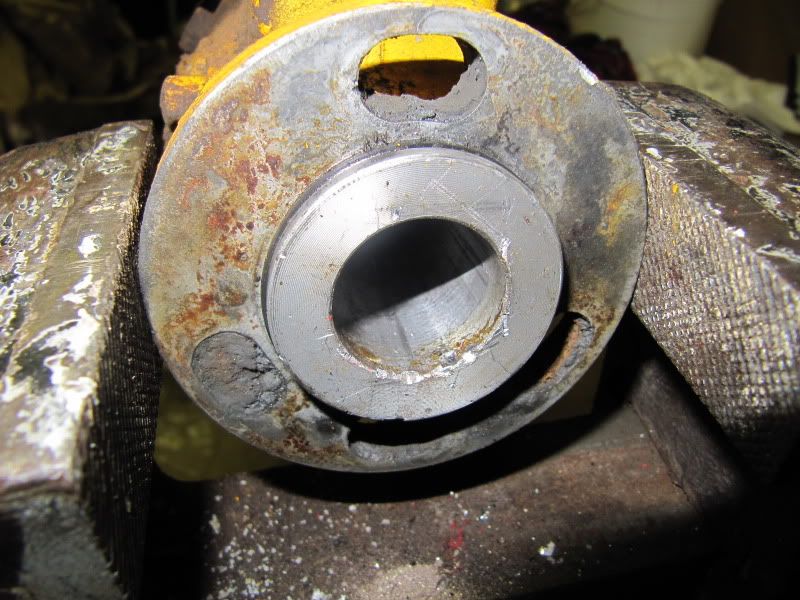
Really, all mine needs that I know of are the seals and the input shaft brass bearing.
I'm thinking I'll do these two replacements and take pics as I do it for future reference on here. If, and I'd like for them to, jdemarris and a couple of others that post a lot about injector pumps want to chime in, that would be great. Remember though, this is just a shade-tree mechanic job. Something most of us on there would and can do ourselves. Much deeper in to the project and I'd have to send it off like most others do.
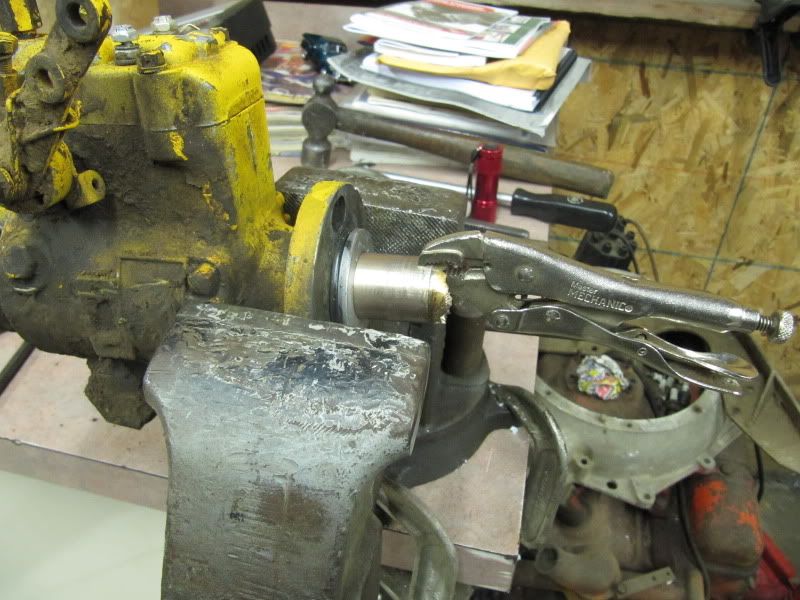
So, this is a community effort. I just put the 2 year old down for a nap and mommy and the 5 year old left for tumbling and cheerleading. I'm gonna get that bushing out of there. I'll be back on here, later, with pics.
Here are the items I ordered: