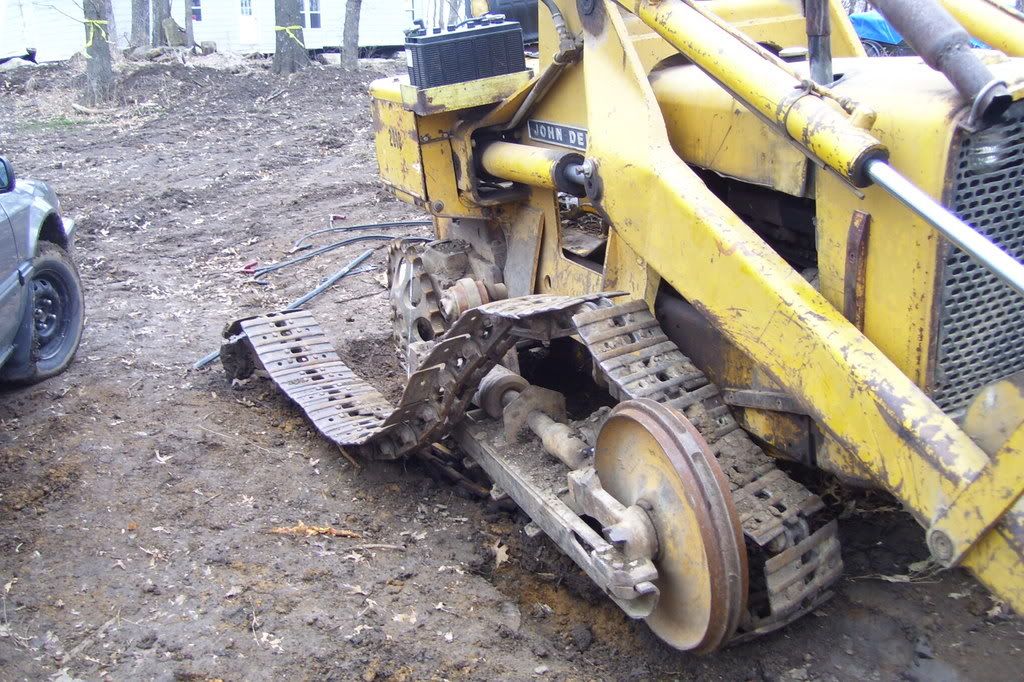
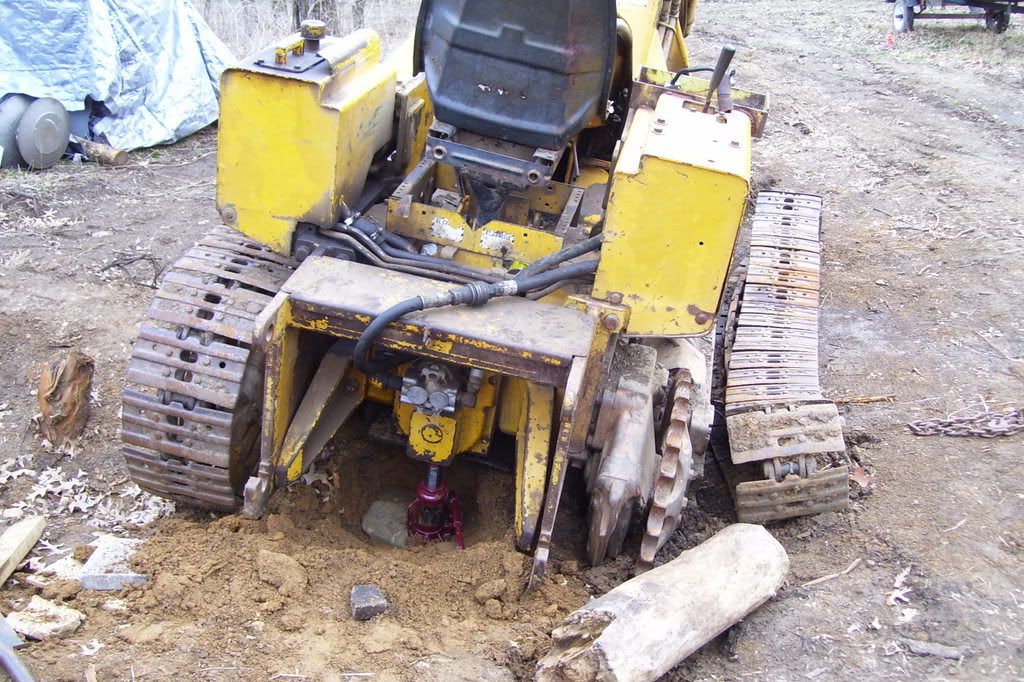
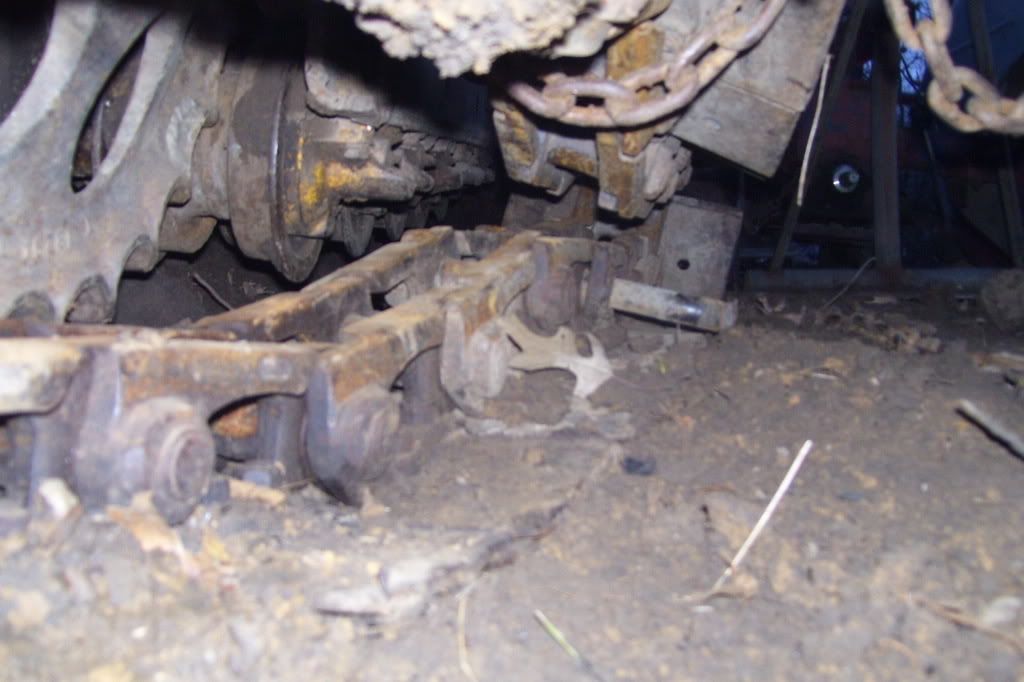
The right track slipped off the front idler while making a sharp turn on a gentle slope and wedged inside between the track frame and the crawler frame, just beneath the right loader arm.
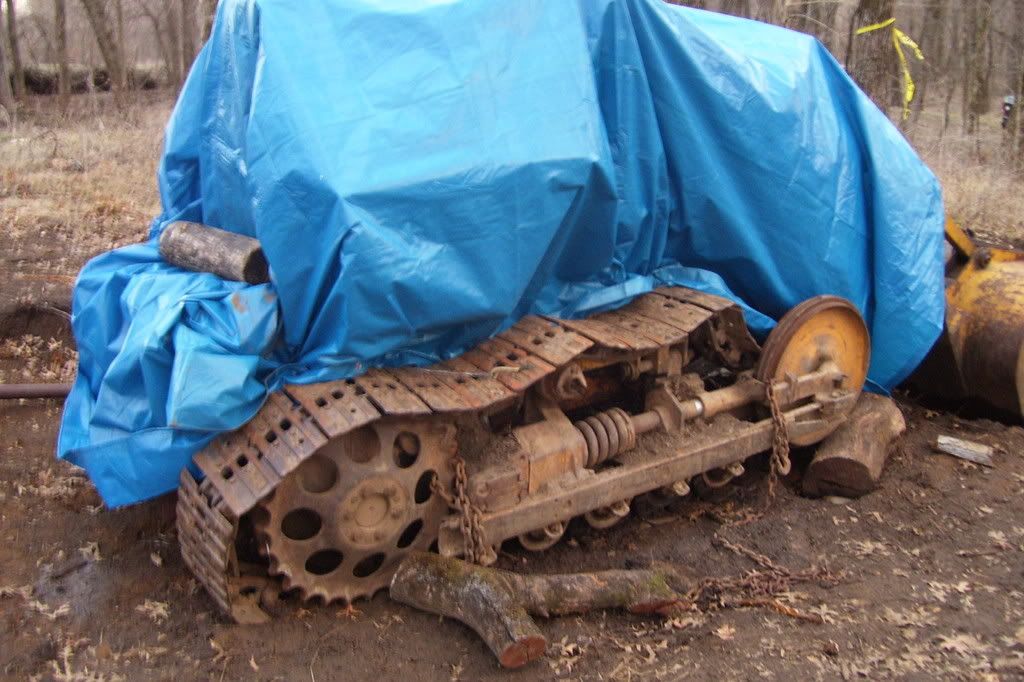
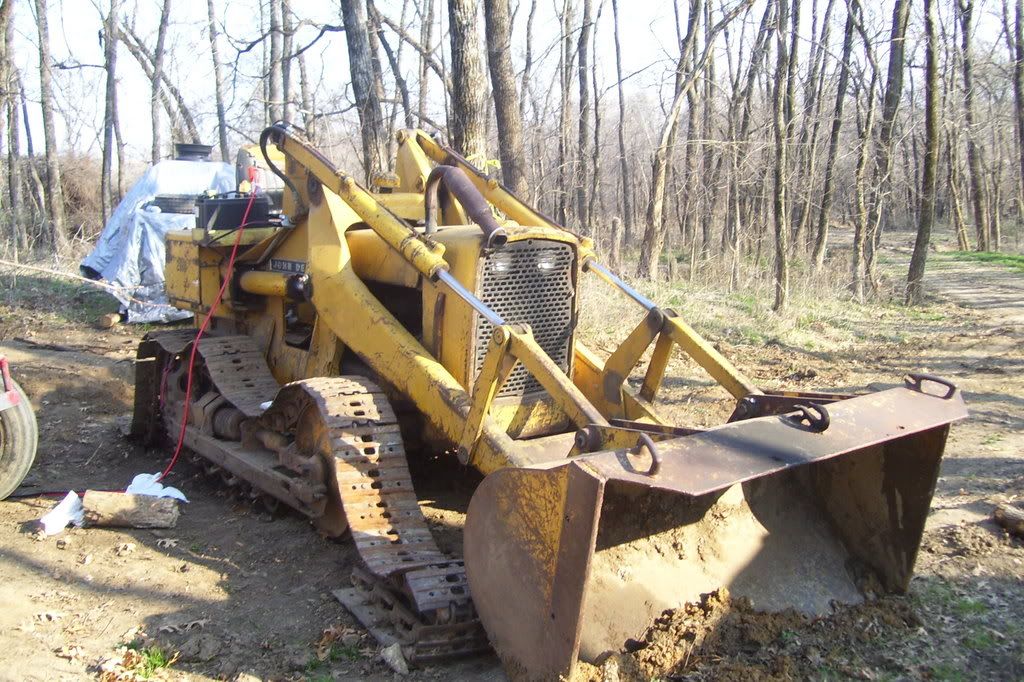
Because it happened just prior to Christmas, I had to let it sit for a couple of weeks. I attempted to use the loader bucket and a log to keep it out of the mud (man I wish the backhoe had been attached). You can see in the picutres that the ground was pretty soggy and the crawler had sunk into the mud. We then received several severe ice storms (1/2"+) and then 8 to 12 inches of snow; the track froze into the ground so I had to wait until it thawed (and let the crawler sink deeper) to pull out the track.
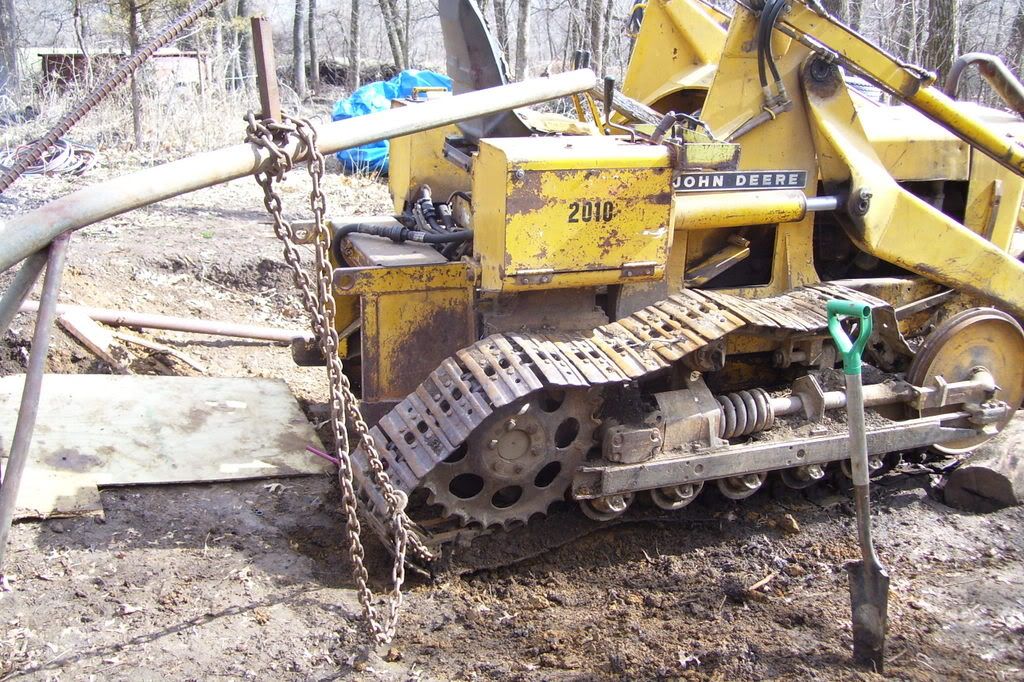
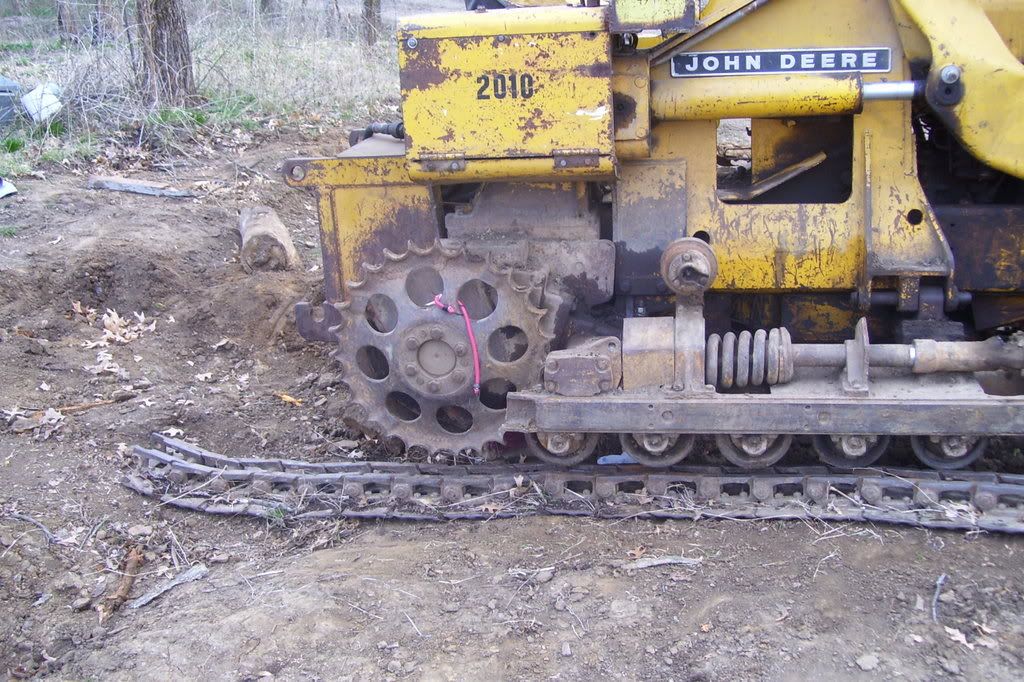
My plan of attack (since I thought the master link was stuck) was to pull the back of the track beneath the sprocket and to the outside of the trackframe and then pull the track forward to free it from the frame in the front. I used my trusty old 8N tractor with boom to assist, but otherwise did this work by myself.
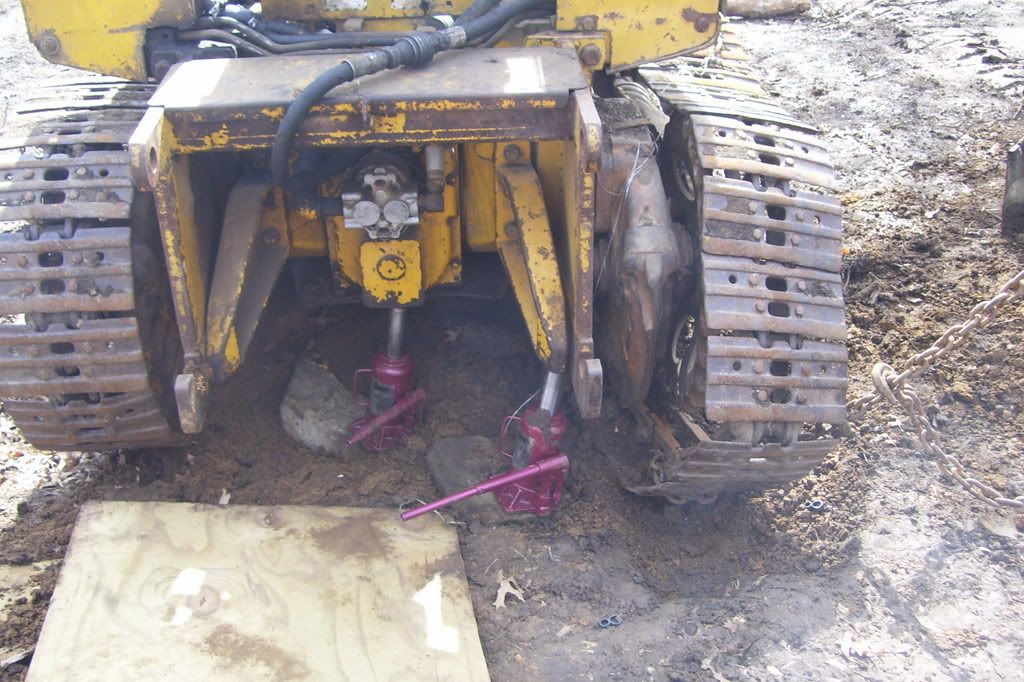
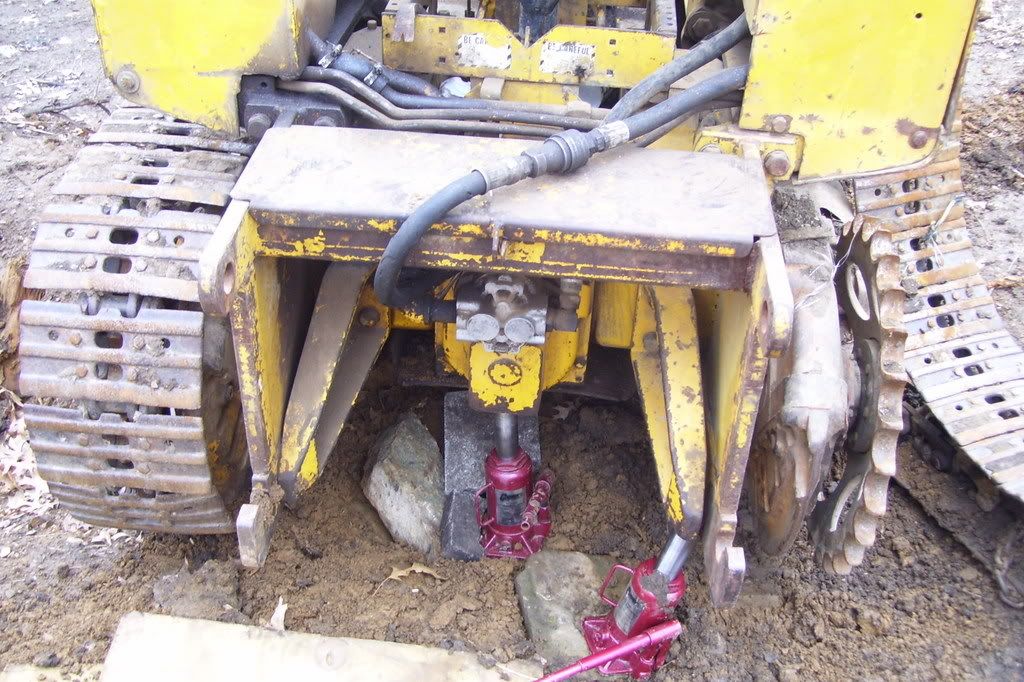
I first had to jack up the crawler, which was not an easy task on soft ground. I first dug around the rear of the backhoe bracket and PTO box to allow the 12-ton bottle jack to fit underneath. I quickly learned that not only do you need to support the 12-ton bottle jacks with large stones (which would sink a foot into the ground before bearing weight) but that you really need two jacks- one used to maximum height and the other to start on a lower portion of the frame. That way I could "leapfrog" them until I got I the rollers and sprocket high enough to pull the track out.
After several attempts I was finally able to pull the rear of the track out away from the trackframe using a logging chain and the 8N:

As you can see in the next pic, the jacks were having a hard time staying upright in the soft ground:
I then had to leave the crawler until the following weekend, and came back to it the next weekend. The crawler had sunk further into the ground and the bottom rollers were resting on the track.
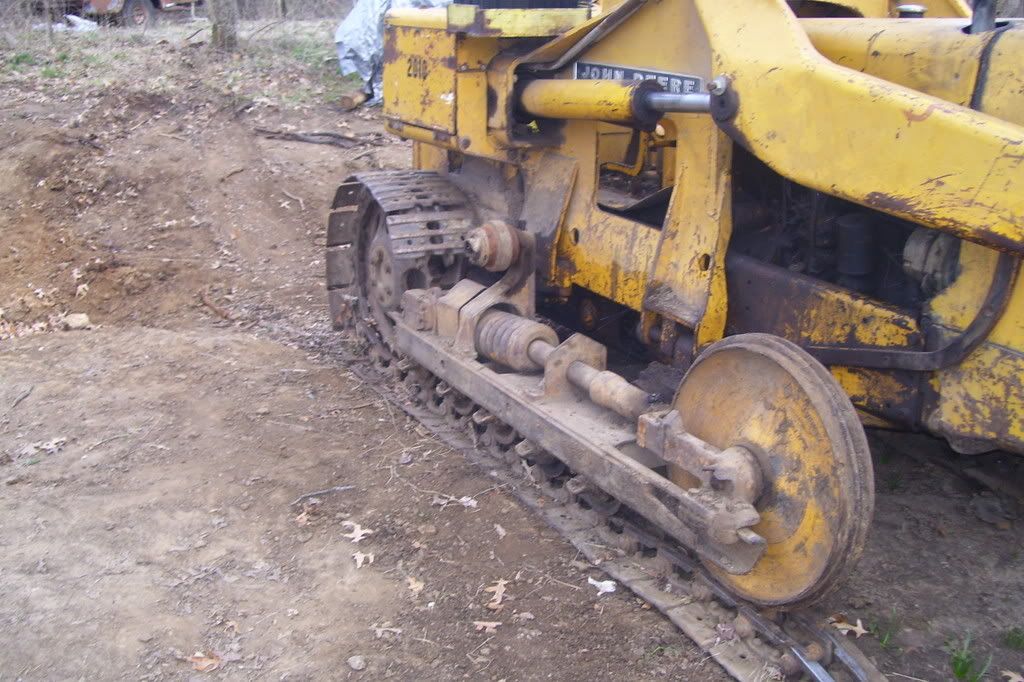
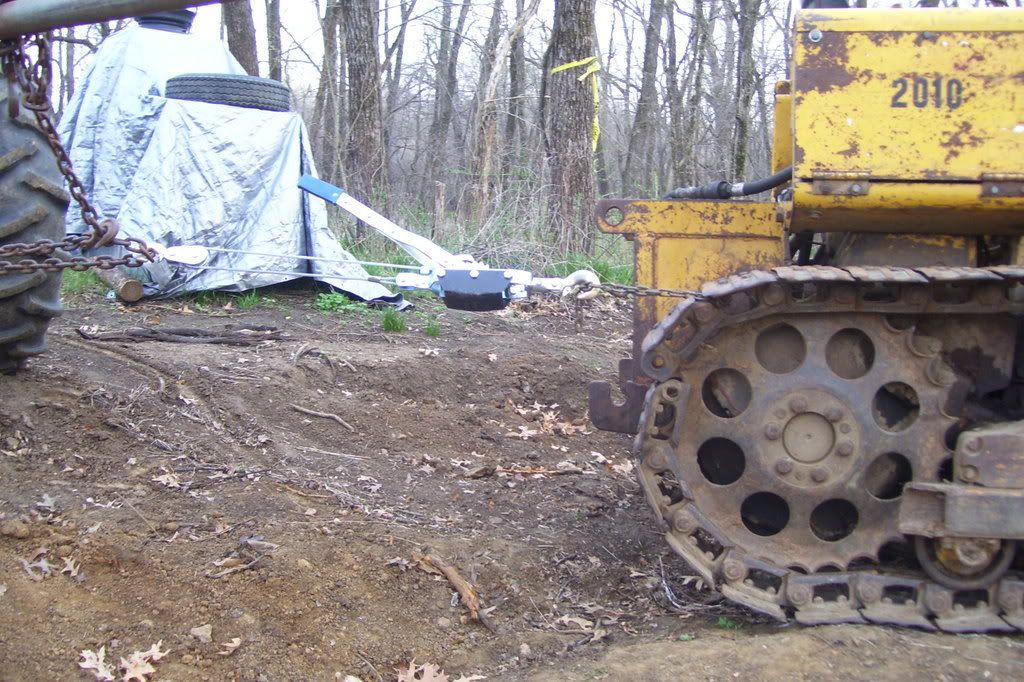
After jacking up the rear of the crawler (again), I then pulled the track from the front using the 8N and logging chain to unwedge it from the crawler frame, front idler, and track frame:
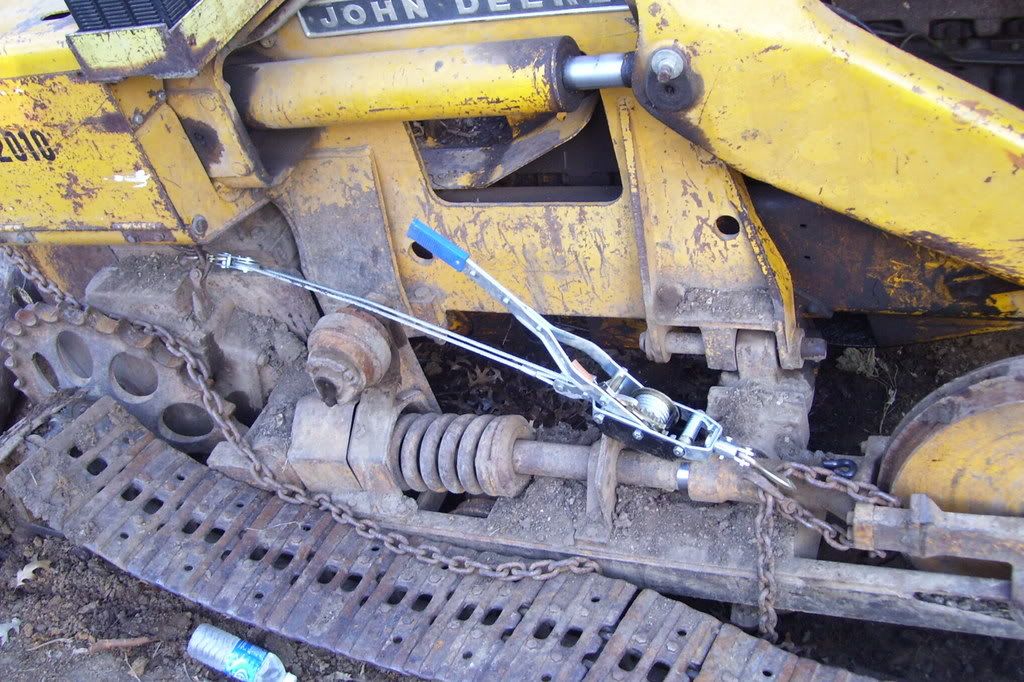
Once the track was free and outside of the track frame, I used a come-along to retract the hydraulic adjuster after loosening the pressure relief bolt- it may not be the right way to retract it but it wouldn't budge otherwise. You can see the grease discharging from the bolt hole.
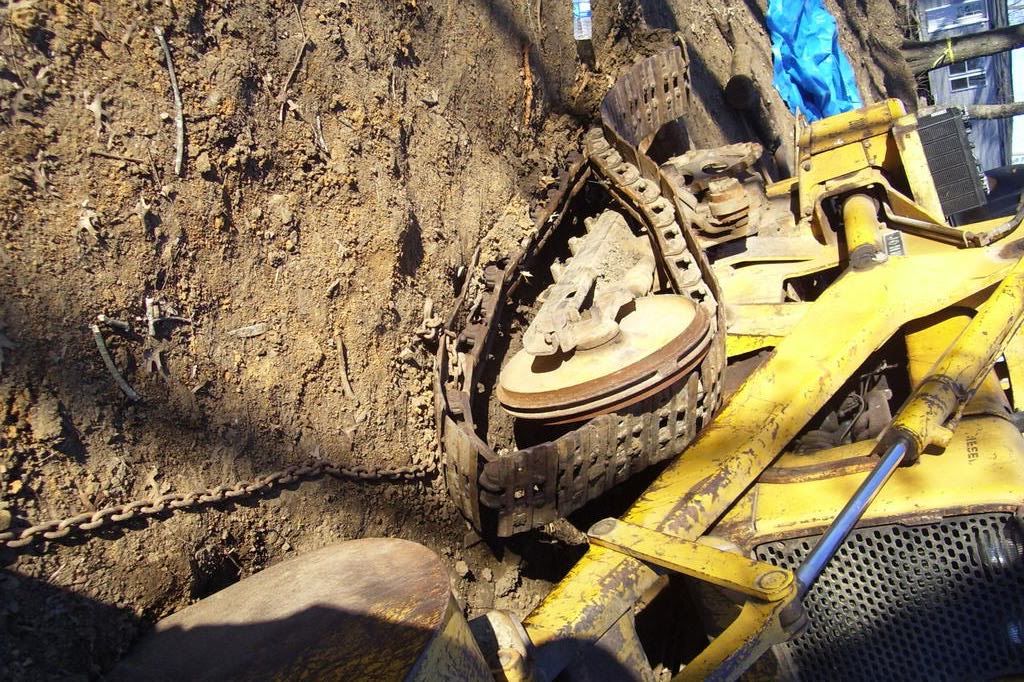
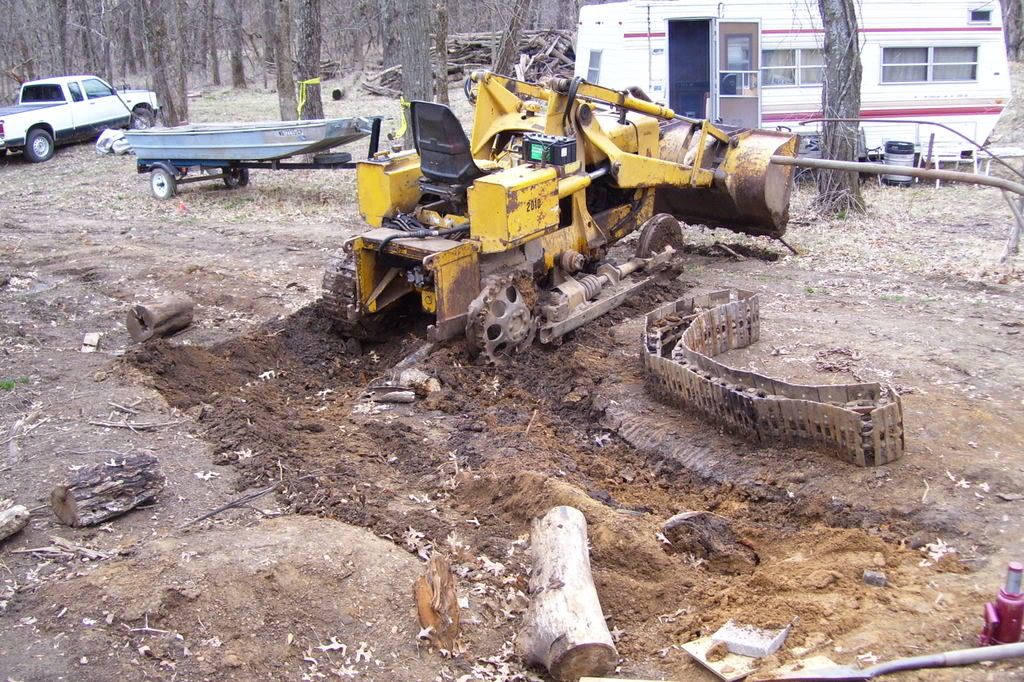
I then had to leave again and come back the following weekend to try and put the track back on (I live an hour away from the crawler). The crawler had sunk again so I attempted to jack it up but the ground was really soft this time:
I quickly realized the ground was so soft and that I would have little chance of raising the undercarriage and aligning the track with the rollers. I then drove the crawler off the slope onto firmer flat ground. I wouldn't recommend that usually, but I knew the ground was soft silts and clays with no rock so the final drive and sprocket would not be damaged.
I was then able to easily jack the front and rear ends of the crawler off the ground:
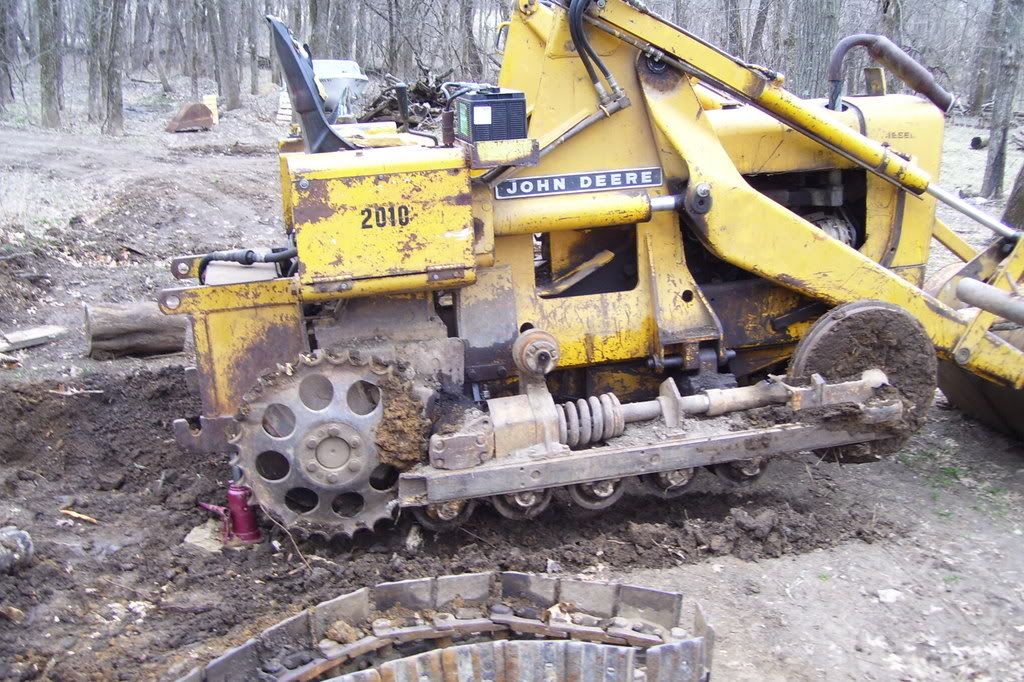
The next step was to scrape out all of the adhered clay and soil from the rollers and sprocket after pulling that move. I then used the 8N to lift the track into place.
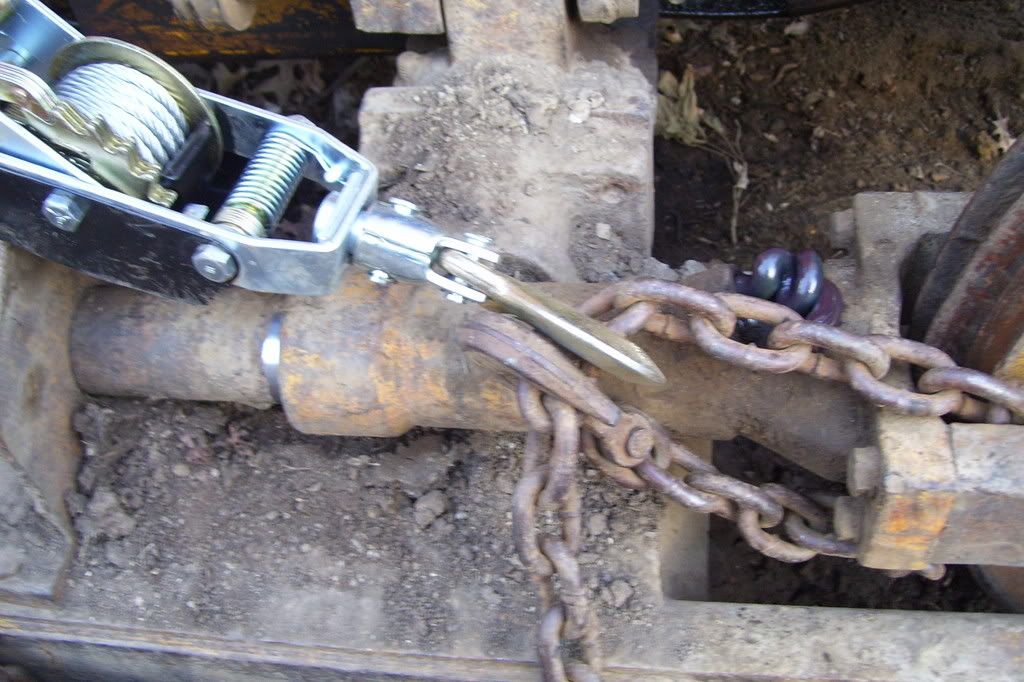
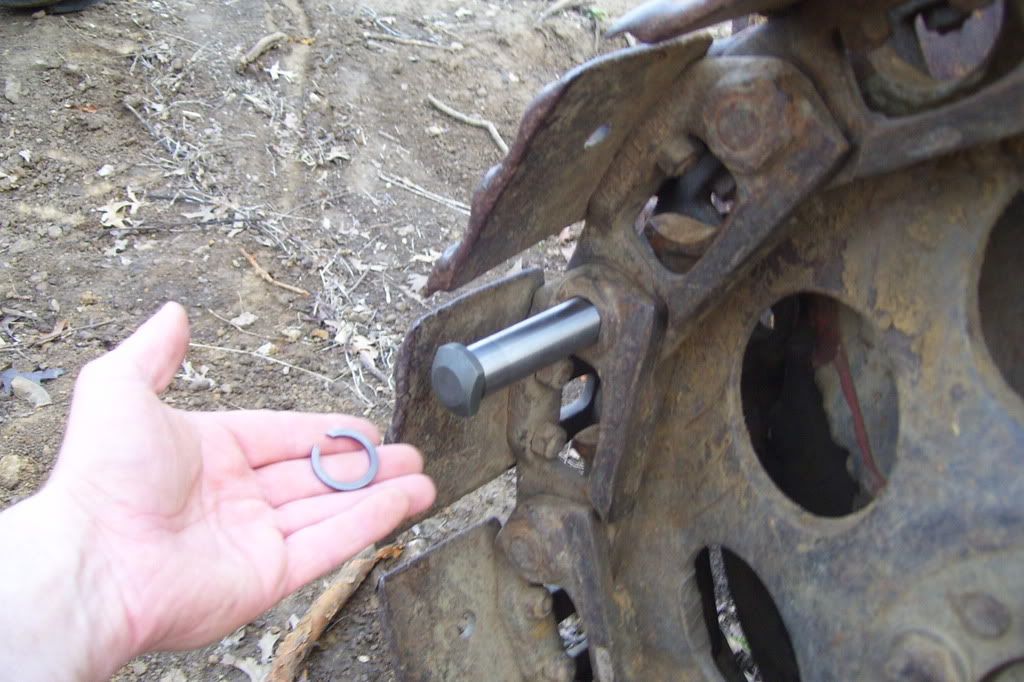
I really couldn't get the track aligned well that way and also realized the master link was loose (the pin was cut from a roller and the snap ring was gone):
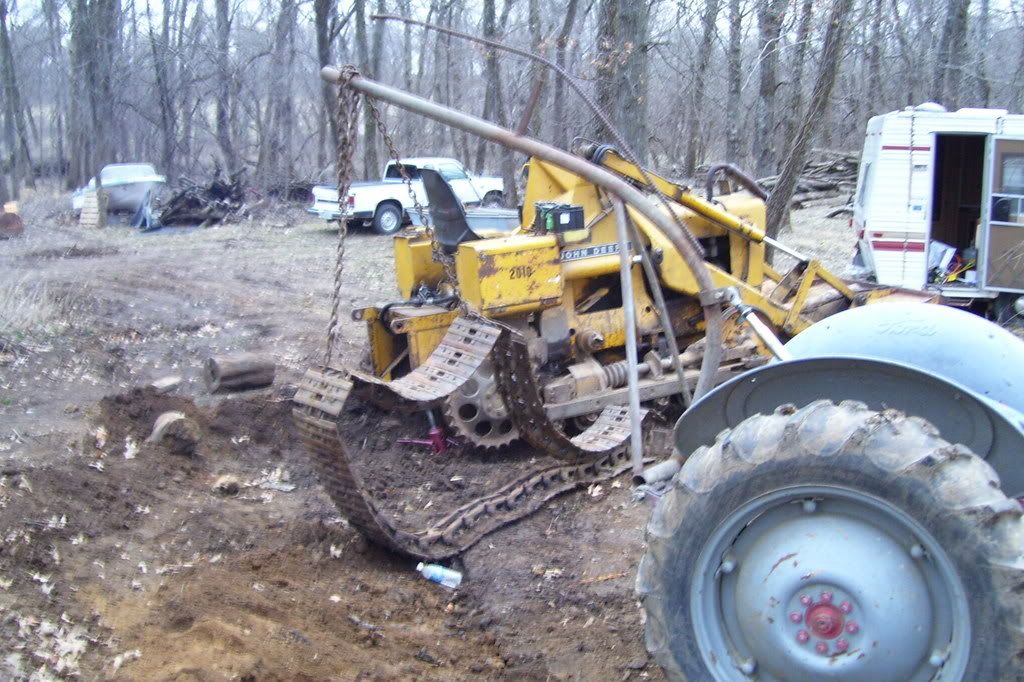
I then split the track and draped it over the idler and sprocket with the boom. I tried to connect the track using the come-along near the top and front idler, but realized it wasn't going to meet up:

I then got some sage advice from Bill Wattson and Lavoy's previous posts to line up the tracks at the sprocket, which required jacking the crawler up again (do you realize I was sick of that by now?) and dragging the track rails under the rollers to line it up:
I then lined up the track at the sprocket and used the come-along to pull the slack up and align the master link:
As you can see by lining it up at the sprocket I was able to slip in the master link pin by hand:
That was about it; now I can use the crawler again. I didn't even have any problems with the steering clutches sticking after all that time:
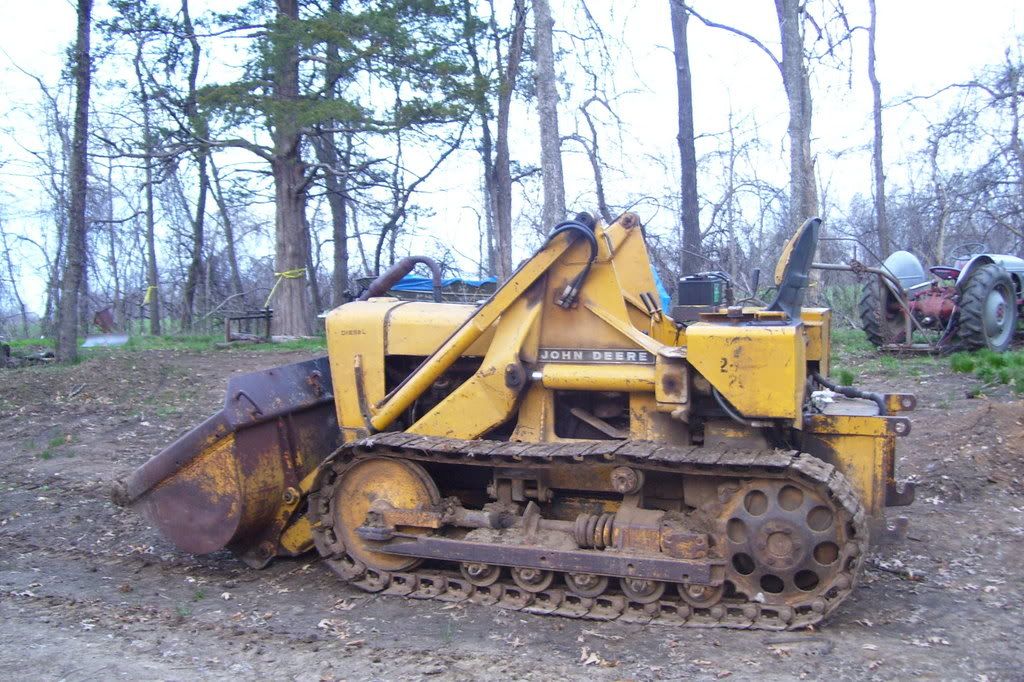
It wasn't the easiest task by myself, but at least I know I can do it. You definitely need to have mechanical help lifting the track as it is darn heavy. My legs, arms, and back were a little sore more than once. I'm glad it is over now and hope this helps someone trying this in the future.