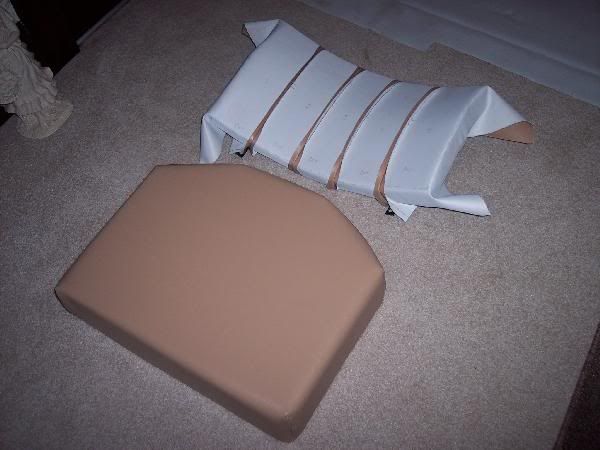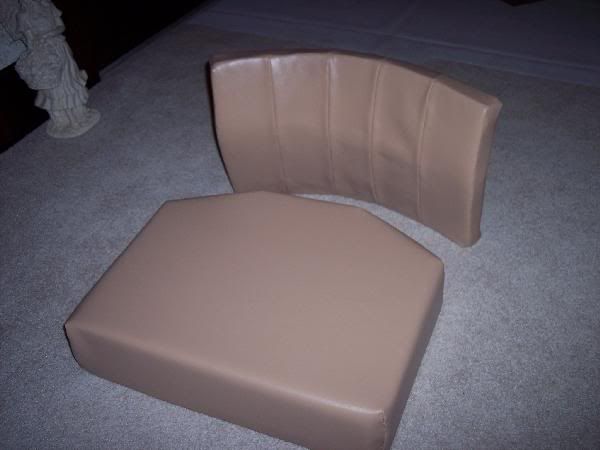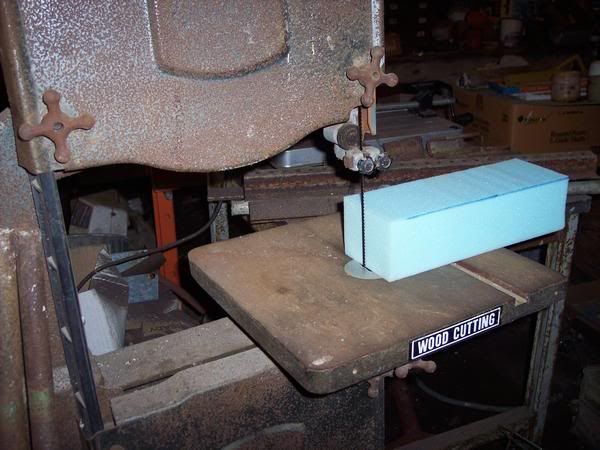
I do listen to the comments. One mentioned to get industrial grade foam for the seat padding. I contacted a nearby apholstery shop and picked up some scrap chunks of 2 inch and 4 inch material. They had a neat reciprocating electric knife for cutting smooth edges. I used my wood band saw that worked wonders.
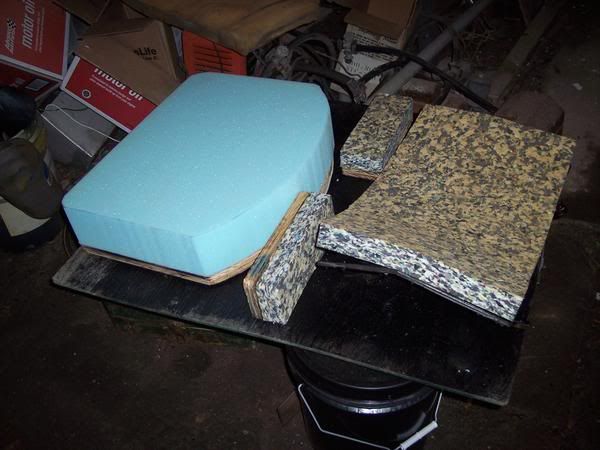
I glued the the foam to the wood bases. I am in the process to sew the corners of the naugahide material. I am doing the sewing by hand with thicker botton-hole thread.
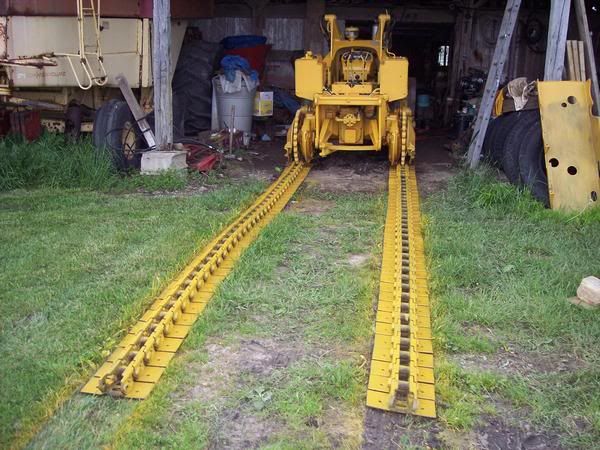
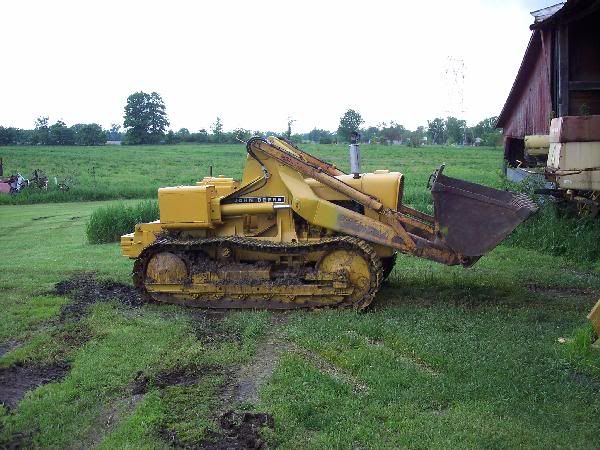
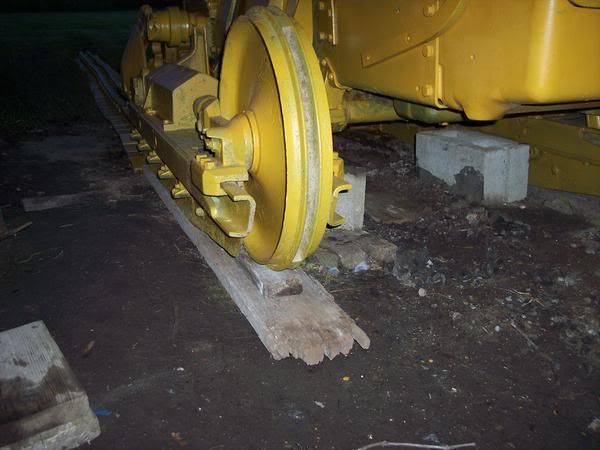
I painted the track and positioned it under the rear sprockets, extended out the barn. The dozer is off the blocks and full weight on the tracks.
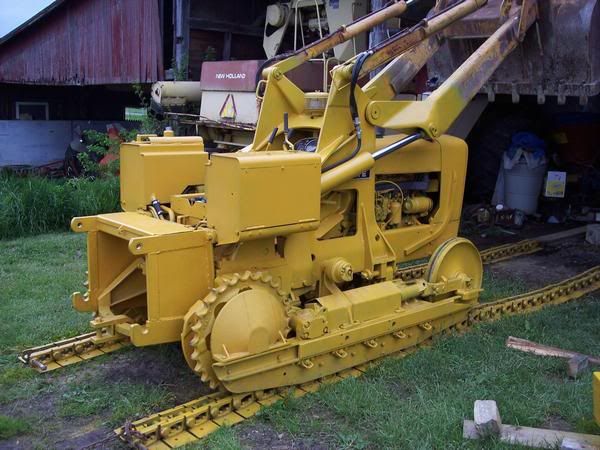
The front was put on planks to keep the wheels above the dirt. The blocks have been removed too.
She is ready to move under her own power.
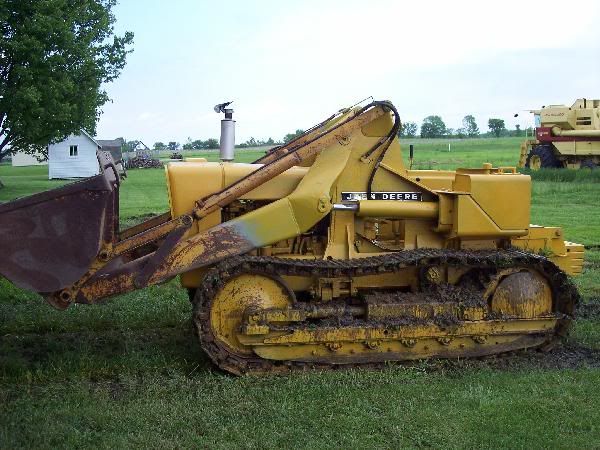
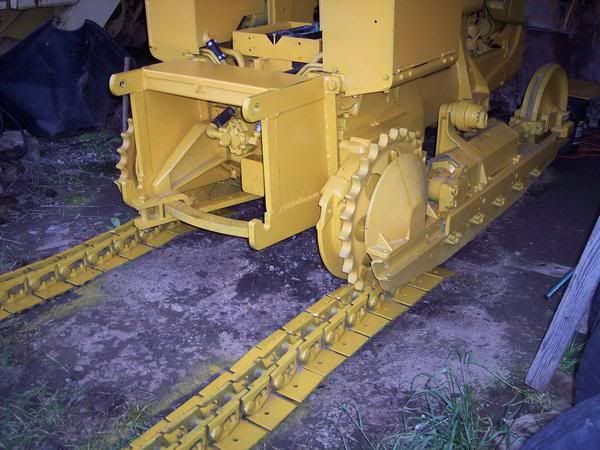
I eased the dozer in reverse until the end of the track could roll up about a 1/3 of the rear sprocket.
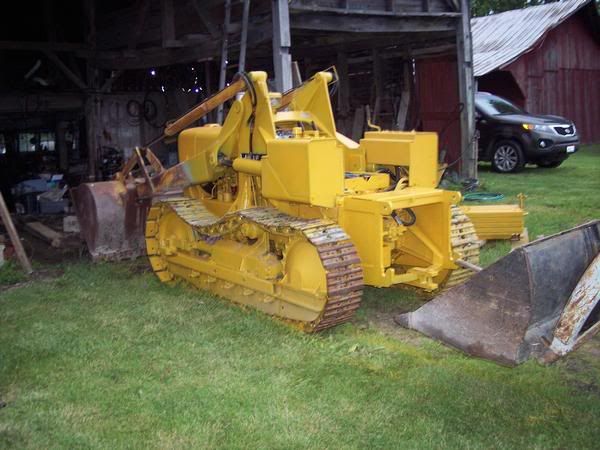
We used a chain and the TO-20 Ferguson to pull the track up over the front wheel and back to the rear sprocket. The master pin was inserted and that was the easiest track job I ever did. It sure helps to shine up the master pin and track hole with emery cloth beforehand.
Storms were a brewin, so I drove the dozer back into the barn, even with the track so loose. Her maiden voyage was a success. I even tried the steering slightly, and they worked. More liquid sunshine came down, just delaying my farming another week or so.